Attention: Here be dragons
This is the latest
(unstable) version of this documentation, which may document features
not available in or compatible with released stable versions of Godot.
Checking the stable version of the documentation...
單例(自動載入)
前言
Godot 的場景系統雖然強大且彈性,但有個缺點:沒有方法可以儲存多個場景間需要共享的資訊(例如玩家分數或物品欄)。
雖然可以用一些權宜之計來處理,但這些方法都有各自的限制:
你可以使用一個「主控」場景,將其他場景作為子場景載入與卸載。但這樣的話,這些子場景就無法再獨立執行並正常運作。
你可以將資訊儲存到
user://中,再讓需要的場景讀取,但頻繁的儲存與載入資料既麻煩又可能拖慢速度。
單例模式 是解決多場景間保存持續性資料的常見好工具。在這裡,只要命名不同,就能用同一個場景或類別作為多個單例。
利用此概念,你可以建立具備以下特性的物件:
無論目前執行哪個場景,都會一直被載入。
可儲存全域變數,如玩家資訊。
可處理場景切換與場景間的轉場。
行為上 如同單例,因為 GDScript 設計上並不支援全域變數。
自動載入節點與腳本便可實現這些特性。
備註
Godot 並不會讓自動載入成為「真正」的單例(如單例設計模式),如果需要,使用者仍可將自動載入重複實體化。
小訣竅
如果你是在開發編輯器外掛時建立自動載入,請考慮在啟用外掛時 自動註冊到專案設定。
自動載入
你可以建立自動載入來載入從 Node 繼承的場景或腳本。
備註
當自動載入腳本時,會建立一個 Node 並附加該腳本。此節點會在其他場景載入前被加到根檢視區。

要自動載入場景或腳本,請從選單進入 專案 > 專案設定 > 全域 > 自動載入。
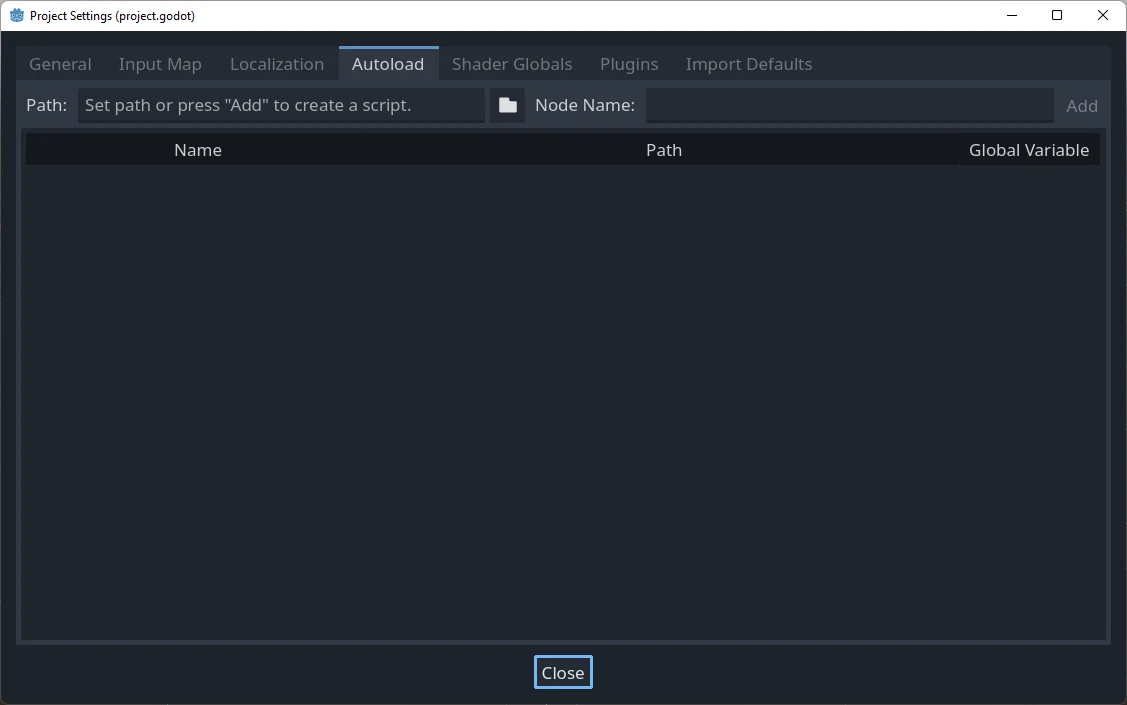
你可以在這裡新增任意數量的場景或腳本。列表中的每個項目都需指定一個名稱,這會成為節點的 name 屬性。加入全域場景樹的順序可用上下箭頭調整,和一般場景一樣,會按由上至下順序讀取這些節點。
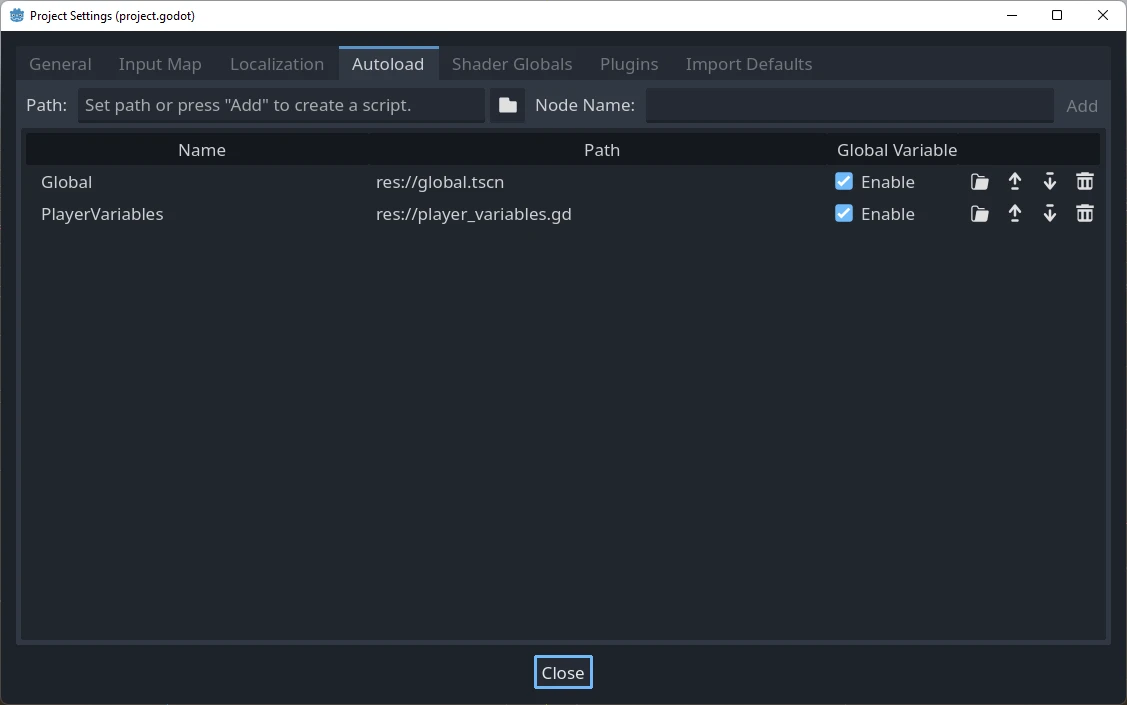
如果勾選了 Enable (啟用)欄(預設已勾選),就可以直接在 GDScript 以名稱存取這個單例:
PlayerVariables.health -= 10
Enable (啟用)欄對 C# 程式碼沒有影響。不過,如果該單例是 C# 腳本,可以透過新增一個名為 Instance 的靜態屬性,並在 _Ready() 指派來達到類似效果:
public partial class PlayerVariables : Node
{
    public static PlayerVariables Instance { get; private set; }

    public int Health { get; set; }

    public override void _Ready()
    {
        Instance = this;
    }
}
這可以讓 C# 程式碼在不使用 GetNode() 及不需型別轉換的情況下直接存取單例:
PlayerVariables.Instance.Health -= 10;
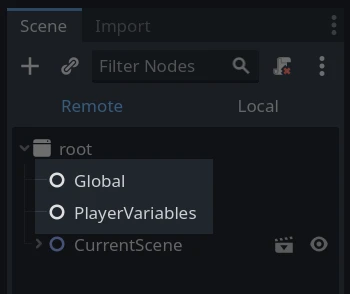
請注意,存取自動載入物件(腳本或場景)方式和場景樹中其他節點相同。事實上,檢查執行時的場景樹,就會看到自動載入的節點:
警告
執行時**絕對不能**用 free() 或 queue_free() 移除自動載入,否則引擎會崩潰。
自訂場景切換器
本教學會示範如何用自動載入來製作場景切換器。若只需基本場景切換,可用 SceneTree.change_scene_to_file() 方法(詳見 使用 SceneTree)。但如果切換場景時需要更複雜的行為,可用此方法獲得更強功能。
首先,請下載這個樣板:singleton_autoload_starter.zip 並在 Godot 開啟。
可能會出現一個視窗通知您專案上次是在較舊的 Godot 版本中開啟,這不是問題。點擊「確定」以開啟專案。
這個專案包含兩個場景:scene_1.tscn 和 scene_2.tscn。每個場景都有一個顯示場景名稱的標籤和一個連結了 pressed() 訊號的按鈕。執行專案時會從 scene_1.tscn 開始,但按下按鈕目前不會有反應。
建立腳本
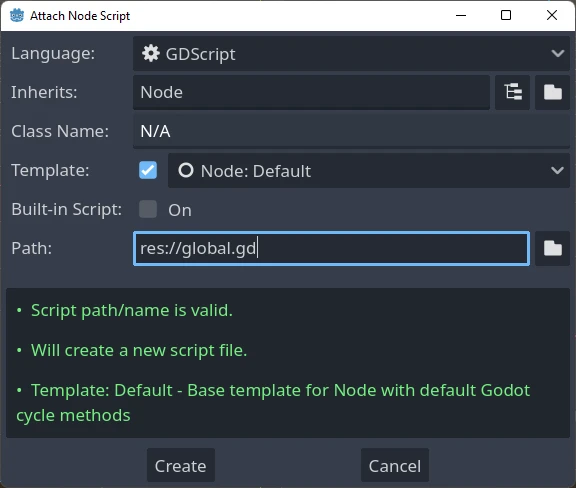
切換到 腳本 視窗,建立一個名為 global.gd 的新腳本,並確認它繼承自 Node:
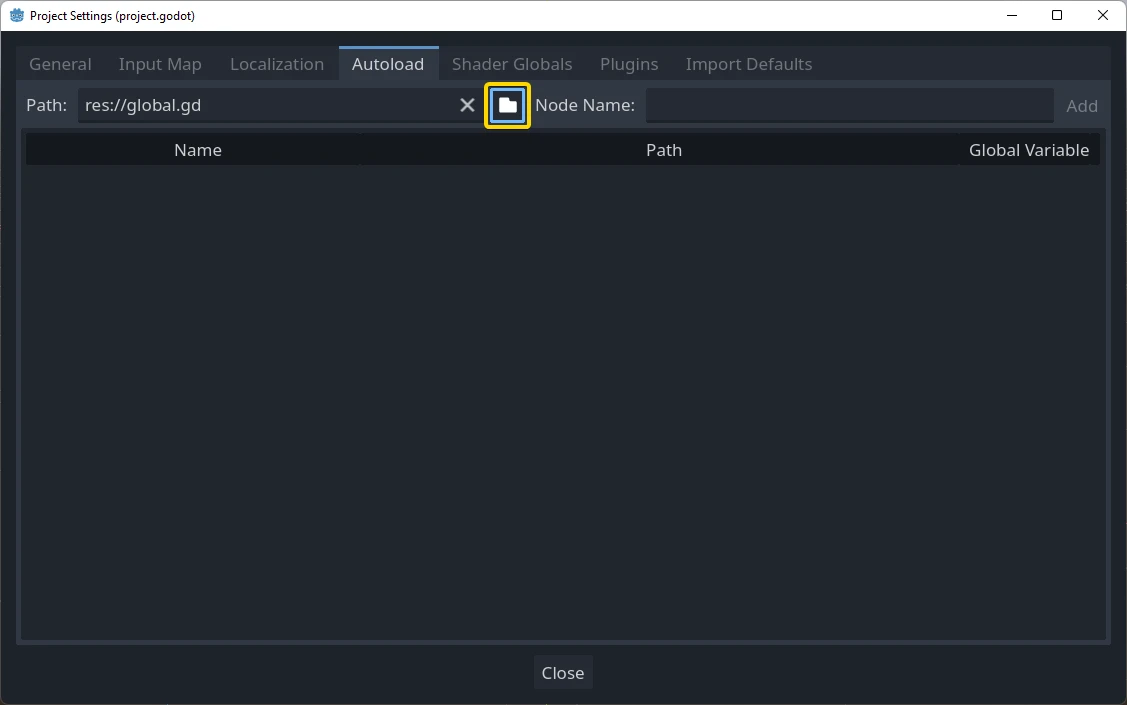
The next step is to add this script to the autoload list.
Starting from the menu, open
Project > Project Settings > Globals > Autoload and
select the script by clicking the browse button or typing its path:
res://global.gd. Press Add to add it to the autoload list
and name it "Global", which is required for scripts to access it
by the name "Global":
現在,無論執行專案裡哪個場景,這個腳本都會自動載入。
回到腳本,我們需要在 _ready() 取得目前場景。當前場景(有按鈕的那個)和 global.gd 都是根節點的子節點,但自動載入節點總是最先加入。這表示根節點的最後一個子節點永遠是目前載入的場景。
extends Node

var current_scene = null

func _ready():
    var root = get_tree().root
    # Using a negative index counts from the end, so this gets the last child node of `root`.
    current_scene = root.get_child(-1)
using Godot;

public partial class Global : Node
{
    public Node CurrentScene { get; set; }

    public override void _Ready()
    {
        Viewport root = GetTree().Root;
        // Using a negative index counts from the end, so this gets the last child node of `root`.
        CurrentScene = root.GetChild(-1);
    }
}
接著需要一個切換場景的函式,這個函式必須釋放目前的場景並換成指定的新場景。
func goto_scene(path):
    # This function will usually be called from a signal callback,
    # or some other function in the current scene.
    # Deleting the current scene at this point is
    # a bad idea, because it may still be executing code.
    # This will result in a crash or unexpected behavior.

    # The solution is to defer the load to a later time, when
    # we can be sure that no code from the current scene is running:

    _deferred_goto_scene.call_deferred(path)


func _deferred_goto_scene(path):
    # It is now safe to remove the current scene.
    current_scene.free()

    # Load the new scene.
    var s = ResourceLoader.load(path)

    # Instance the new scene.
    current_scene = s.instantiate()

    # Add it to the active scene, as child of root.
    get_tree().root.add_child(current_scene)

    # Optionally, to make it compatible with the SceneTree.change_scene_to_file() API.
    get_tree().current_scene = current_scene
public void GotoScene(string path)
{
    // This function will usually be called from a signal callback,
    // or some other function from the current scene.
    // Deleting the current scene at this point is
    // a bad idea, because it may still be executing code.
    // This will result in a crash or unexpected behavior.

    // The solution is to defer the load to a later time, when
    // we can be sure that no code from the current scene is running:

    CallDeferred(MethodName.DeferredGotoScene, path);
}

public void DeferredGotoScene(string path)
{
    // It is now safe to remove the current scene.
    CurrentScene.Free();

    // Load a new scene.
    var nextScene = GD.Load<PackedScene>(path);

    // Instance the new scene.
    CurrentScene = nextScene.Instantiate();

    // Add it to the active scene, as child of root.
    GetTree().Root.AddChild(CurrentScene);

    // Optionally, to make it compatible with the SceneTree.change_scene_to_file() API.
    GetTree().CurrentScene = CurrentScene;
}
透過 Object.call_deferred(),第二個函式只會在目前場景所有程式都執行完後才執行。如此就不會在場景還被使用(程式還在跑)時將其移除。
最後,我們要在兩個場景裡填入空的回呼函式:
# Add to 'scene_1.gd'.

func _on_button_pressed():
    Global.goto_scene("res://scene_2.tscn")
// Add to 'Scene1.cs'.

private void OnButtonPressed()
{
    var global = GetNode<Global>("/root/Global");
    global.GotoScene("res://Scene2.tscn");
}
和
# Add to 'scene_2.gd'.

func _on_button_pressed():
    Global.goto_scene("res://scene_1.tscn")
// Add to 'Scene2.cs'.

private void OnButtonPressed()
{
    var global = GetNode<Global>("/root/Global");
    global.GotoScene("res://Scene1.tscn");
}
執行專案並測試能否透過按鈕切換場景。
備註
當場景很小時,切換會即時完成。但如果場景較複雜,可能會有明顯等待時間。想瞭解如何處理,請參考下一篇教學:後臺載入。
另外,如果載入時間不長(如小於 3 秒),可以在切換場景前先顯示某些 2D 元素,作為「載入畫面」。場景切換完再隱藏這些元素。這樣可讓玩家知道場景正在載入。