Attention: Here be dragons
This is the latest
(unstable) version of this documentation, which may document features
not available in or compatible with released stable versions of Godot.
Checking the stable version of the documentation...
自訂滑鼠游標
你可能會希望更改遊戲中的滑鼠游標外觀,以配合整體設計風格。自訂滑鼠游標有兩種方式:
使用專案設定。這種方式較簡單,但功能較為有限。
使用腳本。這種方式可自訂性較高,但需要撰寫程式碼。
備註
你可以透過隱藏滑鼠游標,並在 _process() 方法中將 Sprite2D 移動到游標位置,來顯示「軟體」滑鼠游標,但這和「硬體」滑鼠游標相比,至少會增加一幀的延遲。因此,建議盡可能使用本章介紹的方法。
如果必須採用「軟體」方式,建議加入外推步驟,以更精確呈現實際滑鼠輸入。
使用專案設定
打開 專案設定,然後前往 顯示 > 滑鼠游標。你會看到以下設定:自訂圖像、自訂圖像熱點,以及 提示位置偏移。
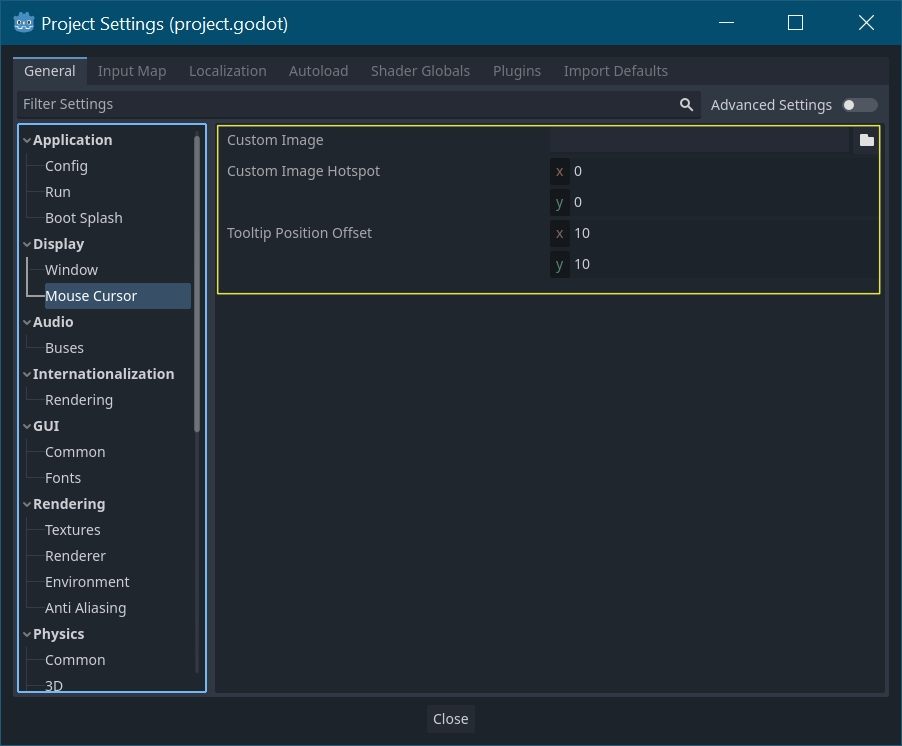
自訂圖像 是你想設定為滑鼠游標的圖像。自訂熱點 則是你想用作游標偵測點的圖像座標。
警告
自訂圖像的尺寸**最多**為 256×256 像素。為避免繪製問題,建議使用 128×128 或更小的尺寸。
在網頁平台上,滑鼠游標圖像的最大允許尺寸為 128×128。
使用腳本
建立一個節點(Node)並掛載以下腳本。
extends Node


# Load the custom images for the mouse cursor.
var arrow = load("res://arrow.png")
var beam = load("res://beam.png")


func _ready():
    # Changes only the arrow shape of the cursor.
    # This is similar to changing it in the project settings.
    Input.set_custom_mouse_cursor(arrow)

    # Changes a specific shape of the cursor (here, the I-beam shape).
    Input.set_custom_mouse_cursor(beam, Input.CURSOR_IBEAM)
using Godot;

public partial class MyNode : Node
{
    public override void _Ready()
    {
        // Load the custom images for the mouse cursor.
        var arrow = ResourceLoader.Load("res://arrow.png");
        var beam = ResourceLoader.Load("res://beam.png");

        // Changes only the arrow shape of the cursor.
        // This is similar to changing it in the project settings.
        Input.SetCustomMouseCursor(arrow);

        // Changes a specific shape of the cursor (here, the I-beam shape).
        Input.SetCustomMouseCursor(beam, Input.CursorShape.Ibeam);
    }
}
也參考
請參考 Input.set_custom_mouse_cursor() 的文件,以瞭解更多使用方式與平台注意事項。
游標列表
你可以定義多種滑鼠游標,詳見 Input.CursorShape 列舉。要使用哪一種,則視你的需求而定。