Attention: Here be dragons
This is the latest
(unstable) version of this documentation, which may document features
not available in or compatible with released stable versions of Godot.
Checking the stable version of the documentation...
製作樹木
這是一個簡短教學,介紹如何從零開始製作樹木及其他類型的植被。
本教學不著重於建模技巧(相關教學已有許多),而是說明如何讓它們在 Godot 中呈現得更好看。
從一棵樹開始
我從 SketchFab 下載了這棵樹:
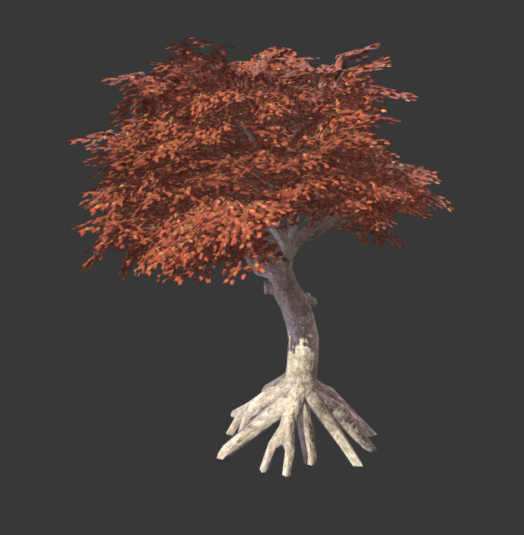
https://sketchfab.com/models/ea5e6ed7f9d6445ba69589d503e8cebf
並在 Blender 中開啟。
以頂點色進行繪製
首先,你可以利用頂點色來標示樹在有風時各部位的擺動程度。只需用你慣用的 3D 建模軟體的頂點著色工具,繪製類似下圖的效果:
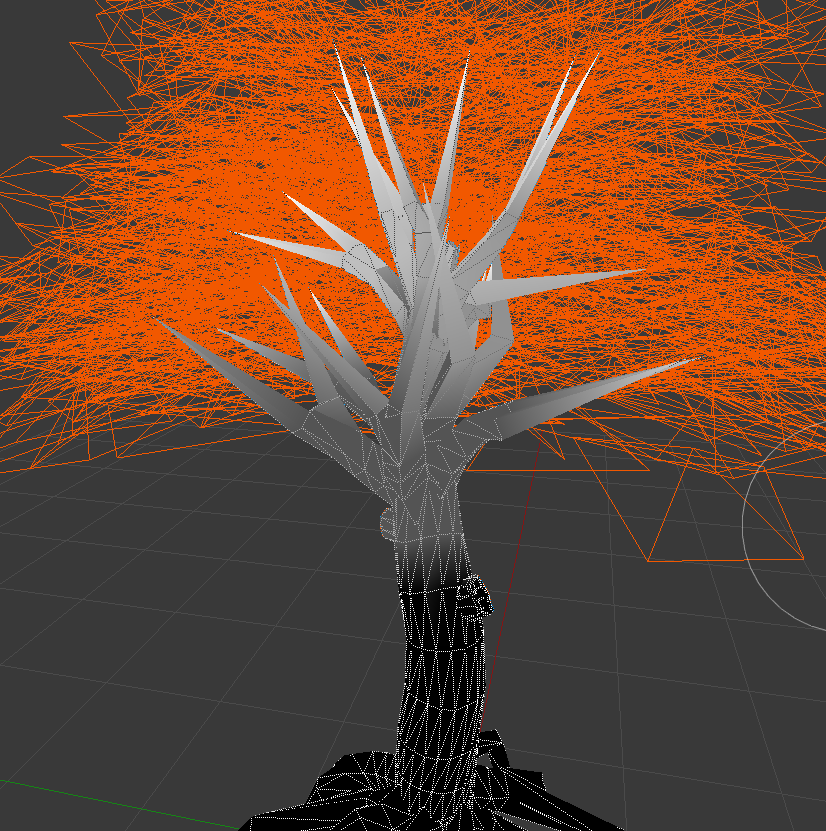
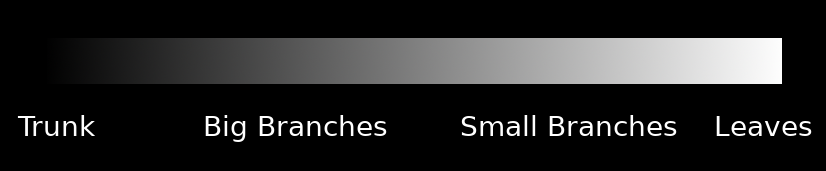
這個效果有點誇張,但重點在於顏色表示每個部位受到擺動影響的程度。以下比例尺可以更清楚地說明:
為葉片編寫自訂著色器
以下是一個葉片著色器的範例:
shader_type spatial;
render_mode depth_prepass_alpha, cull_disabled, world_vertex_coords;
這是一個空間著色器。沒有啟用正反面剔除(因此葉片可從兩側看到),並且使用了 alpha 預通道,這樣利用透明度時會減少深度偽影(且葉片能投射陰影)。最後,建議擺動效果使用世界座標,這樣樹木就算被複製、移動等,依然能與其他樹協同運作。
uniform sampler2D texture_albedo : source_color;
uniform vec4 transmission : source_color;
這裡會讀取材質貼圖及透射色,用來給葉片添加背光效果,模擬次表面散射。
uniform float sway_speed = 1.0;
uniform float sway_strength = 0.05;
uniform float sway_phase_len = 8.0;

void vertex() {
    float strength = COLOR.r * sway_strength;
    VERTEX.x += sin(VERTEX.x * sway_phase_len * 1.123 + TIME * sway_speed) * strength;
    VERTEX.y += sin(VERTEX.y * sway_phase_len + TIME * sway_speed * 1.12412) * strength;
    VERTEX.z += sin(VERTEX.z * sway_phase_len * 0.9123 + TIME * sway_speed * 1.3123) * strength;
}
這段程式碼實現葉片擺動。它很基礎(僅以正弦波乘上時間與軸向位置,但效果不錯)。注意強度會乘以頂點色。每個軸向都用一個接近 1.0 的不同倍率,避免軸向同步擺動。
最後,剩下的就是片段著色器:
void fragment() {
    vec4 albedo_tex = texture(texture_albedo, UV);
    ALBEDO = albedo_tex.rgb;
    ALPHA = albedo_tex.a;
    METALLIC = 0.0;
    ROUGHNESS = 1.0;
    SSS_TRANSMITTANCE_COLOR = transmission.rgba;
}
大致上就這樣了。
樹幹的著色器也很類似,只是它不會寫入 alpha 通道(因此不需 alpha 預通道),也不需要透射效果。這兩個著色器都可以加上法線貼圖、AO 及其他貼圖來進一步強化。
改良著色器
還有更多關於這方面的資源可以參考。既然你已經掌握基礎,建議閱讀 GPU Gems3 裡說明 Crysis 如何實現此效果的章節(主要聚焦於擺動程式碼,因為書中其他技術多已過時):
https://developer.nvidia.com/gpugems/GPUGems3/gpugems3_ch16.html