Work in progress
The content of this page was not yet updated for Godot
4.2
and may be outdated. If you know how to improve this page or you can confirm
that it's up to date, feel free to open a pull request.
2D 粒子系统
简介
粒子系统用于模拟复杂的物理效果,例如火花、火焰、魔法粒子、烟雾、薄雾等。
这个想法是以固定的间隔发射具有固定的寿命的 "粒子". 在其生命周期中, 每个粒子都具有相同的基本行为. 让每个粒子变得不同并提供整体更加 "有机" 外观的是与各个参数相关的 "随机性". 实质上, 创建粒子系统意味着设置基本物理参数, 然后为它们添加随机性.
粒子节点
Godot 为 2D 粒子提供了两个不同的节点: GPUParticles2D 和 CPUParticles2D 。 GPUParticles2D 更先进,使用 GPU 来处理粒子效果。 CPUParticles2D 是 CPU 驱动的选项,其功能与 GPUParticles2D 几乎相同,但在使用大量粒子时性能较低。 另一方面,CPUParticles2D 在低端系统或 GPU 瓶颈情况下可能表现更好。
虽然 GPUParticles2D 是通过 ParticleProcessMaterial(还可以使用自定义着色器)进行配置的,不过匹配的选项是通过 CPUParticles2D 中的节点属性提供的(除了轨迹设置)。
你可以通过在检查其中点击节点,选择 2D 视口,然后在视口顶部的工具栏中选择 GPUParticles2D > 转换为CPUParticles2D ,将 GPUParticles2D 节点转换为 CPUParticles2D 节点。
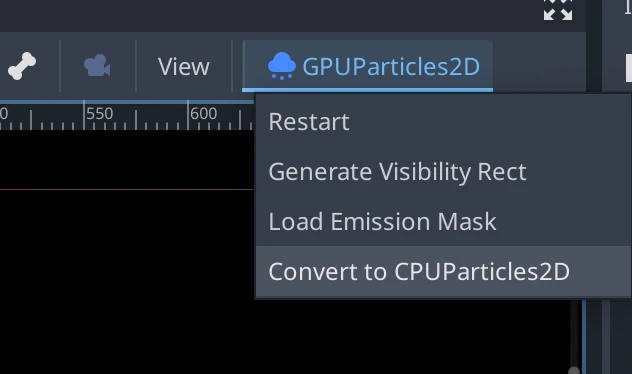
本教程的其余部分将使用 GPUParticles2D 节点。 首先,将 GPUParticles2D 节点添加到场景中。 创建该节点后,你会注意到仅创建了一个白点,并且场景停靠栏中的 GPUParticles2D 节点旁边有一个警告图标。 这是因为节点需要 ParticleProcessMaterial 才能发挥作用。
ParticleProcessMaterial
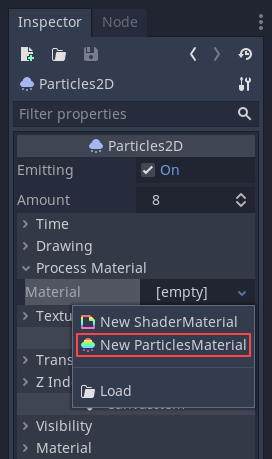
要将处理材质添加到粒子节点,请转到检查器面板中的 处理材质 。单击 材质 旁边的框,然后从下拉菜单中选择 新建 ParticleProcessMaterial 。
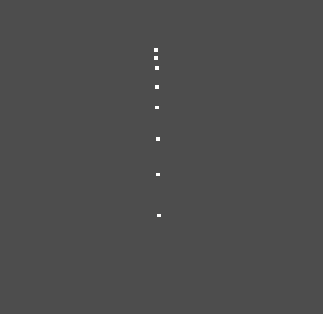
你的 GPUParticles2D 节点现在应该可以向下发射白点了。
Texture (纹理)
粒子系统可以使用单个纹理或动画 翻页 (filpbook)。翻页是一种纹理,其中包含可以回放或在发射期间随机选择的多个动画帧。翻页相当于粒子的精灵表。
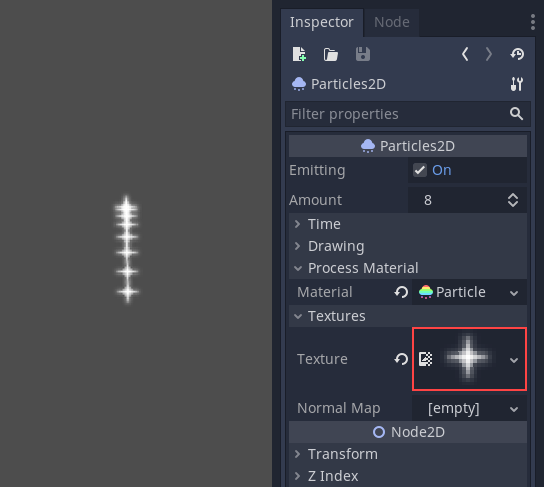
纹理通过 Texture 属性设置:
使用动画翻页
粒子翻页适合再现复杂的效果,如烟雾、火焰、爆炸。它们还可以通过使每个粒子使用不同的纹理,来引入随机纹理变化。你可以在线寻找现成的粒子翻页图,或使用外部工具预渲染它们,例如`Blender <https://www.blender.org/>`__ 或 EmberGen 。
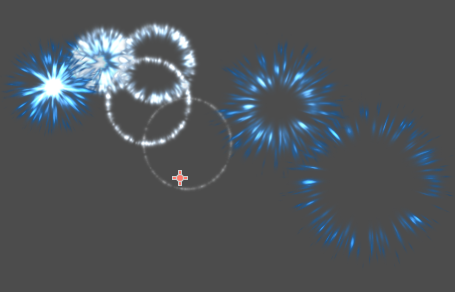
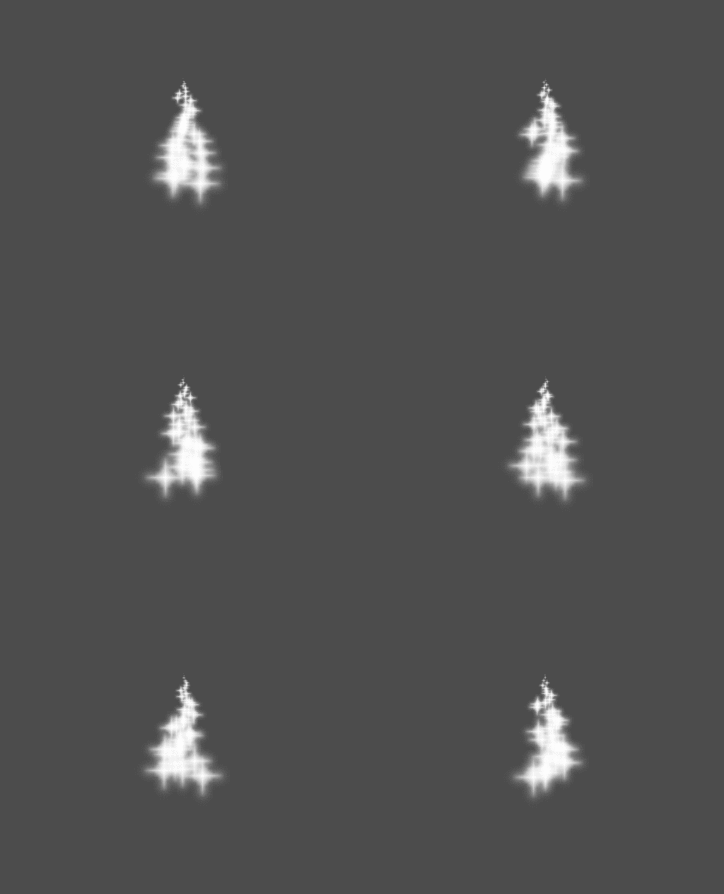
使用翻页纹理的粒子系统示例
相比起单个纹理,使用动画翻页需要额外的配置。出于演示目的,我们将使用这 5 列 7 行的纹理(右键单击并选择 另存为... ):
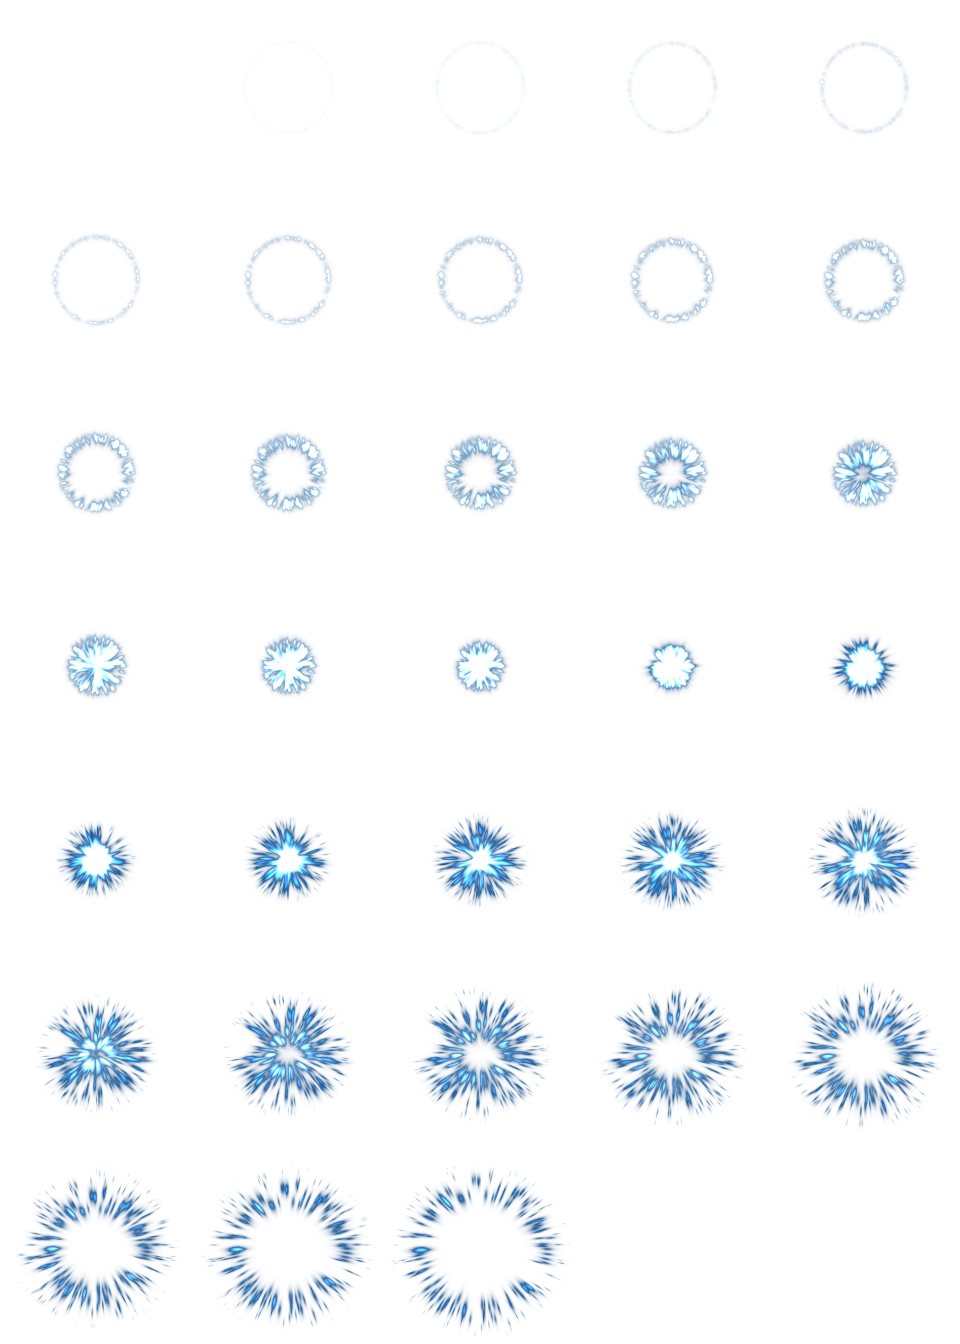
作者:JoesAlotofthings (CC BY 4.0)
要使用动画翻页,你必须在 GPUParticles2D(或 CPUParticles2D)节点的 Material 部分中创建一个新的 CanvasItemMaterial:
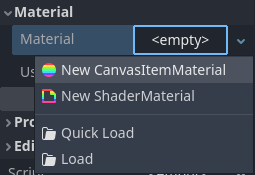
在粒子节点检查器的底部创建一个 CanvasItemMaterial
在这个 CanvasItemMaterial 中,启用 Particle Animation ,并将 H Frames 和 V Frames 分别设置为翻页纹理中的列数和行数:
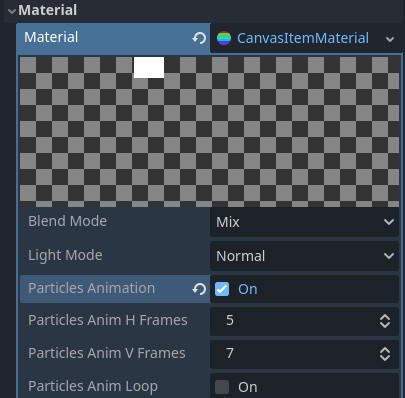
为示例翻页纹理配置 CanvasItemMaterial
完成此操作后,ParticleProcessMaterial(对于 GPUParticles2D)或 CPUParticles2D 检查器中的 动画部分 将生效。
小技巧
如果你的翻页纹理是黑色背景而不是透明背景,你还需要将混合模式设置为 Add 而不是 Mix 才能使它正确地显示。或者,你也可以修改纹理以使它在图像编辑器中有透明背景。在 GIMP 中,可以使用 Color > Color to Alpha 菜单来完成此操作。
时间参数
Lifetime(寿命)
每个粒子存活的时间(以秒为单位). 生命周期结束时, 会创建一个新粒子来替换它.
寿命:0.5
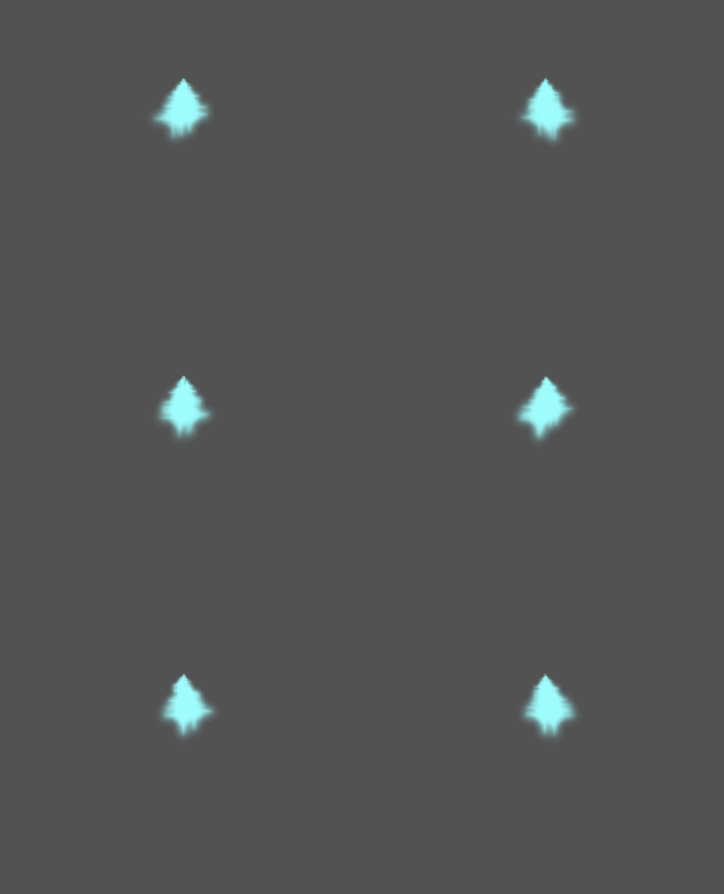
寿命:4.0
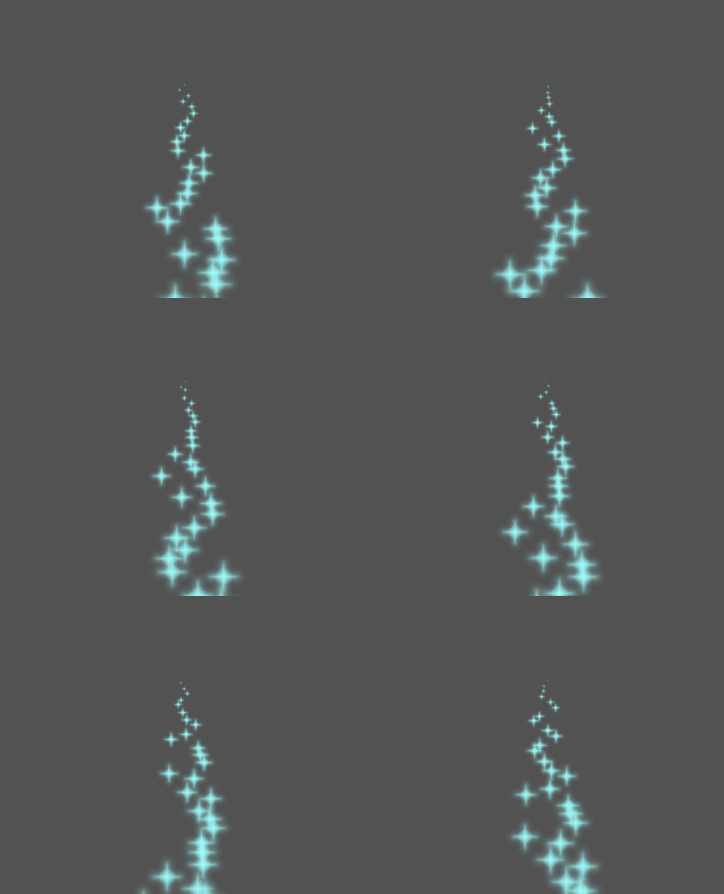
One Shot (一次性)
启用后,GPUParticles2D 节点将一次发射其所有粒子,之后将不再发射。
Preprocess(预处理)
粒子系统从没有粒子被发射开始, 然后开始发射. 当加载场景如火炬, 雾等系统时可能会带来不便, 因为它会在进入场景的那一刻开始发射. 预处理用于让系统在第一次实际绘制之前处理给定的秒数.
Speed Scale(速度比例)
速度比例具有默认值 1 , 用于调整粒子系统的速度. 降低值会使粒子变慢, 而增加值会使粒子更快.
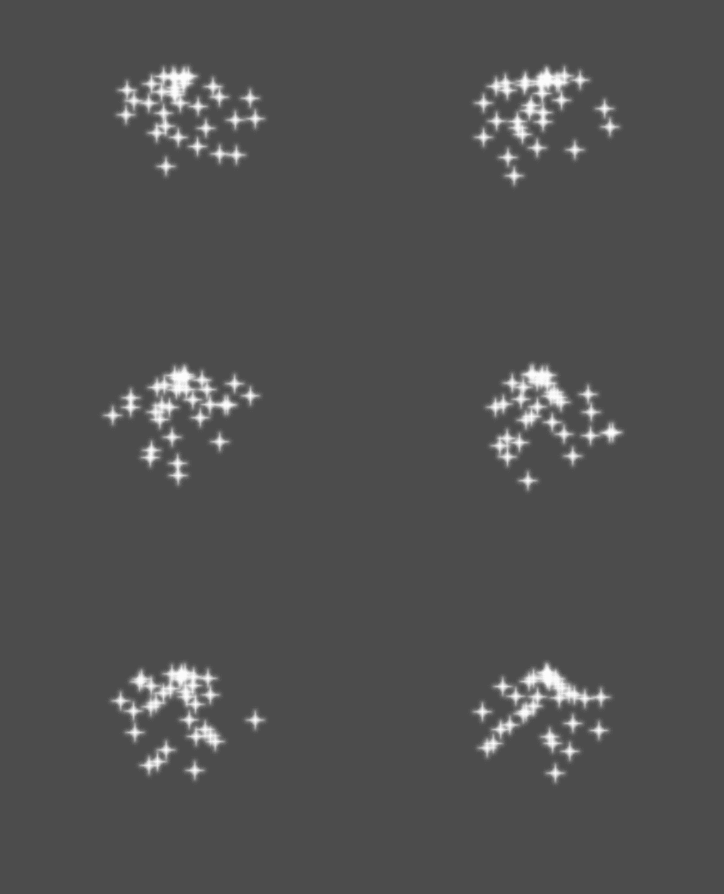
Explosiveness(爆炸性)
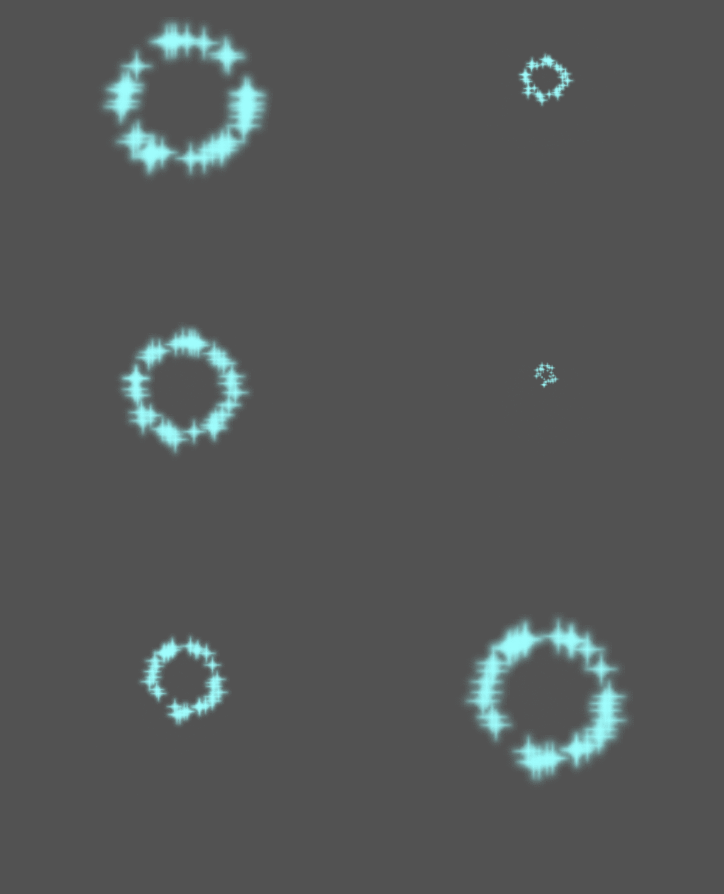
如果有10个寿命为 1 的粒子, 则意味着粒子将每0.1秒发射一次. 爆炸性参数改变了这一点, 并迫使粒子一起发射. 范围是:
0: 定期发射粒子(默认值).
1: 同时发射所有粒子.
中间的值也是允许的. 此功能对于创建爆炸或突然爆发的粒子非常有用:
Randomness(随机性)
所有物理参数都可以随机化. 随机值范围从 0 到 1 . 随机化参数的公式为:
initial_value = param_value + param_value * randomness
Fixed FPS(固定帧率)
此设置可用于将粒子系统设置为以固定的帧率渲染. 例如, 将值更改为 2 将使粒子以每秒2帧的速度渲染. 请注意, 这不会减慢粒子系统本身的速度.
Fract Delta
这可用于打开或关闭Fract Delta.
绘图参数
Visibility Rect(可见性区域)
可见性矩形控制粒子在屏幕上的可见性. 如果此矩形位于视口之外, 则引擎将不会在屏幕上渲染粒子.
矩形的 W 和 H 属性分别控制其宽度和高度. X 和 Y 属性控制矩形左上角相对于粒子发射器的位置.
可以使用 2d 视图上方的工具栏让 Godot 自动生成可见性矩形。 为此,请选择 GPUParticles2D 节点并单击 粒子 > 生成可见性矩形 。 Godot 将模拟 Particles2D 节点发射粒子几秒钟,并设置矩形以适合粒子所占据的表面。
你可以使用 Generation Time (sec) 选项控制发射持续时间. 最大值为25秒. 如果你需要更多时间让粒子移动, 你可以暂时更改Particles2D节点上的 preprocess 时间.
Local Coords(局部坐标)
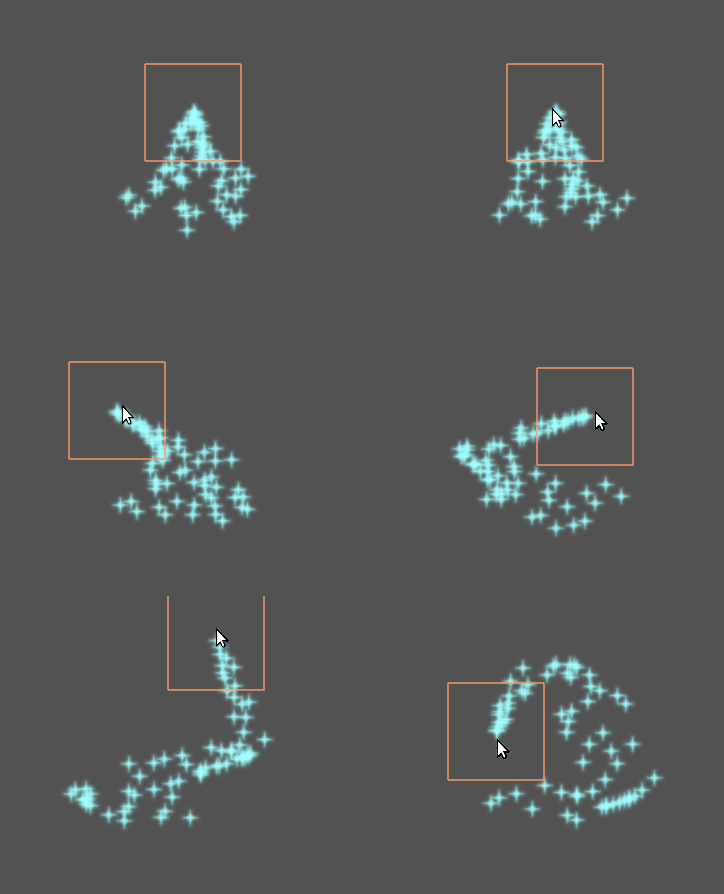
默认情况下, 此选项处于启用状态, 这意味着粒子发射的空间是相对于节点来算的. 如果移动节点, 则所有粒子会随之移动:
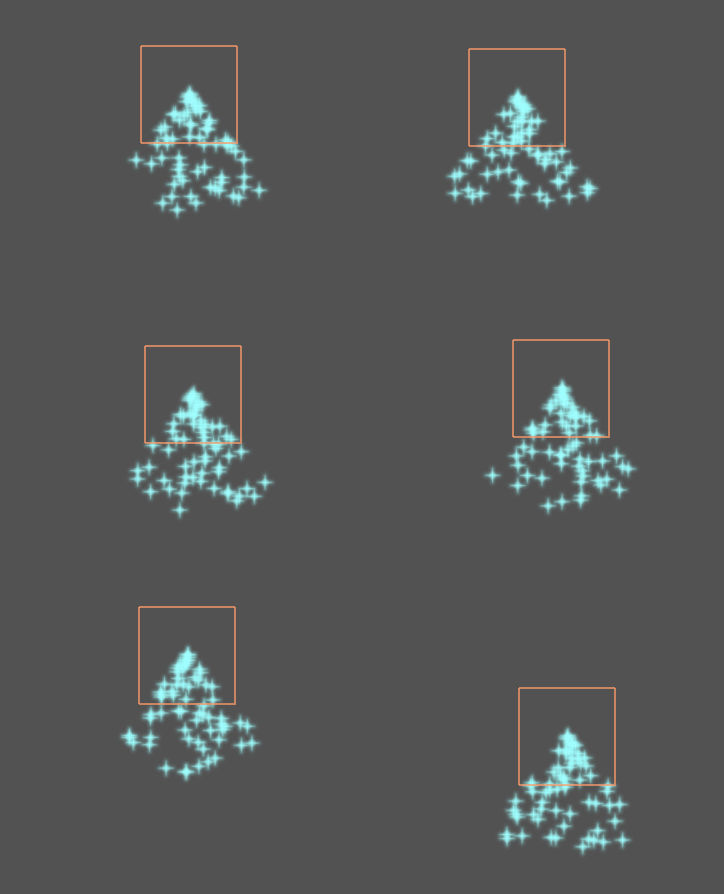
如果禁用, 粒子将发射到全局空间, 这意味着如果移动节点, 则已发射的粒子不会受到影响:
Draw Order(绘图顺序)
这可以控制绘制单个粒子的顺序. Index 表示粒子根据它们的发射顺序被绘制(默认). Lifetime 表示它们按照剩余寿命的顺序被绘制.
ParticleProcessMaterial 设置
方向
这是粒子发射的基础方向. 默认值是 Vector3(1,0,0) , 它使粒子向右发射. 然而, 在默认的重力设置下, 粒子会直线下降.
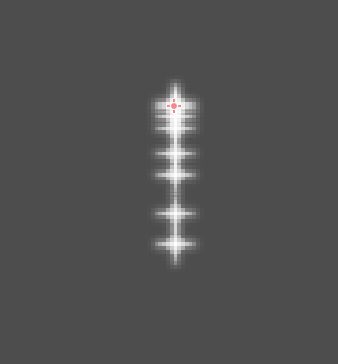
为了让这个属性作用更明显, 你需要一个大于0的 初始速度(initial velocity) . 这里, 我们把初始速度设为40. 你会注意到粒子向右发射, 然后受重力作用下降.
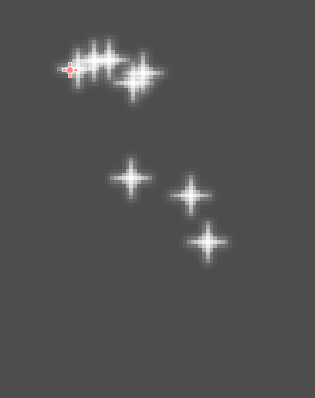
Spread(铺开角度)
此参数是以度为单位的角度, 它会被随机加减到基础 Direction 上. 180 的铺开角度将向所有方向发射(+/- 180).
Flatness(平直度)
这个属性只对3D粒子有用.
Gravity(重力)
应用于每个粒子上的重力.
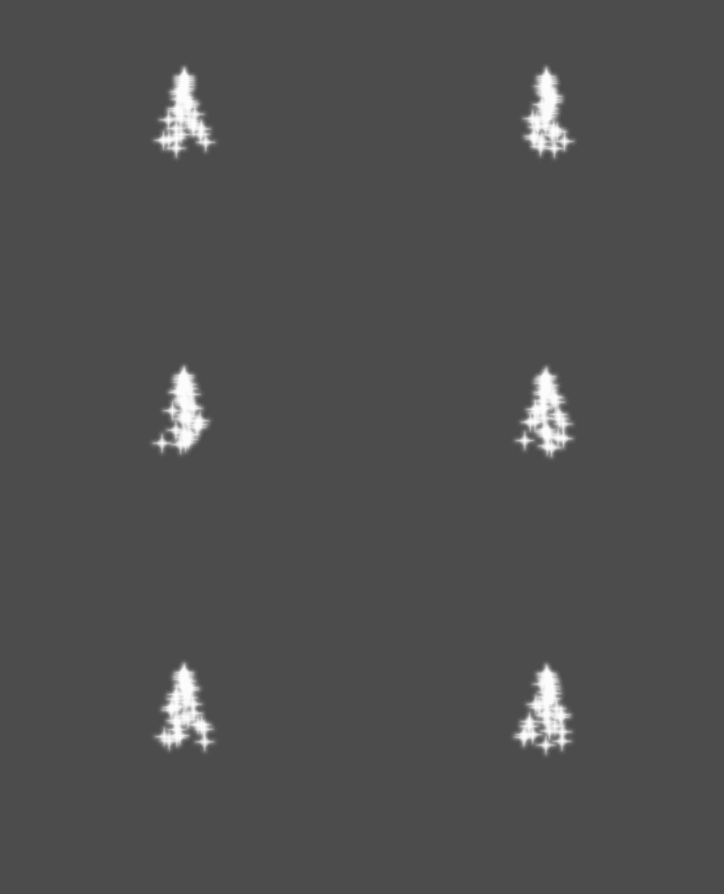
Initial Velocity(初始速度)
初始速度是粒子发射的速度(单位为像素/秒)。以后可以通过重力或其他加速度来修改速度(后述)。
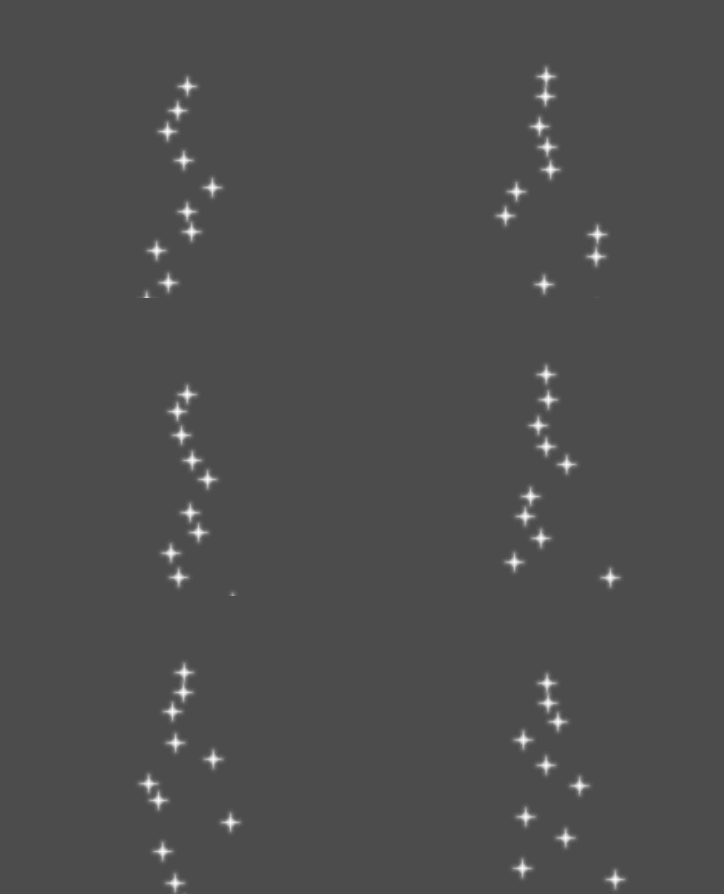
Angular Velocity(角速度)
角速度是应用于粒子的初始角速度.
Spin Velocity(旋转速度)
旋转速度是粒子围绕其中心转动的速度(以度/秒为单位).
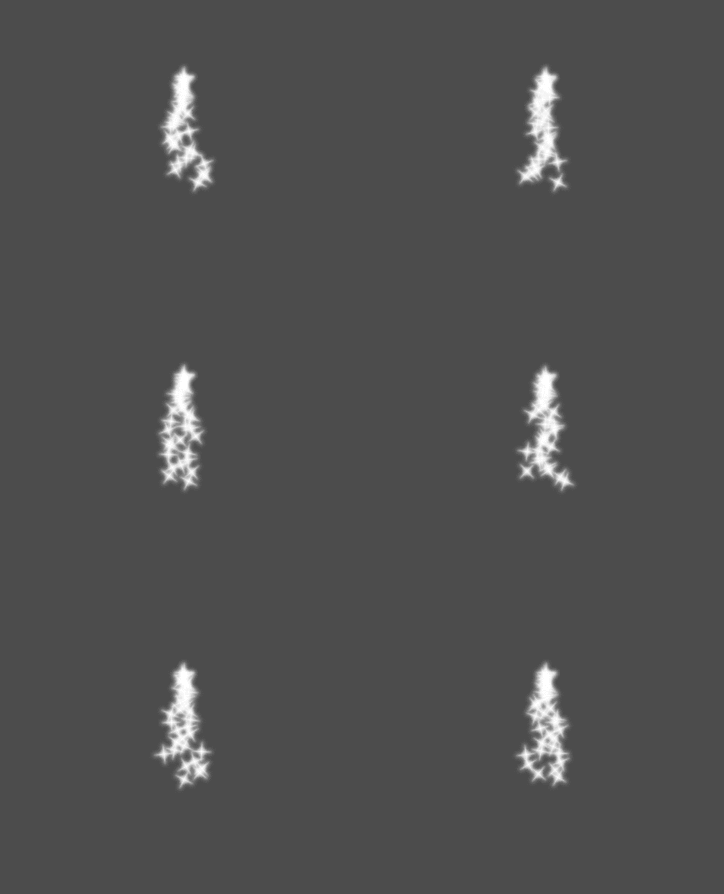
Orbit Velocity(环绕速度)
环绕速度速度用于使粒子绕它们的中心转动.
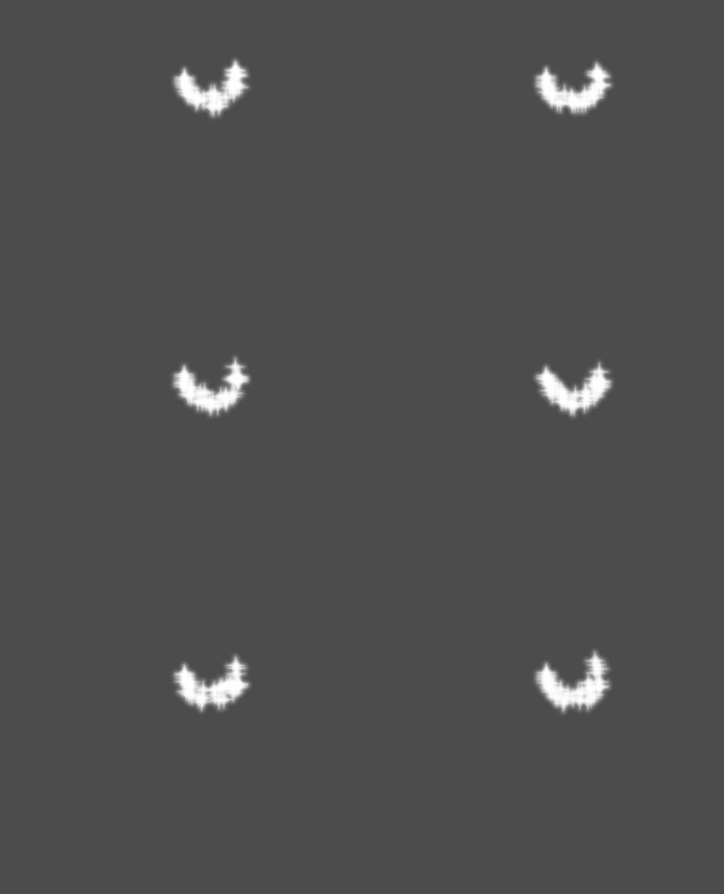
Linear Acceleration(线性加速度)
应用于每个粒子的线性加速度.
Radial Acceleration(径向加速度)
如果此加速度为正, 则粒子会向远离发射中心加速. 如果是负的, 他们会被加速吸进去.
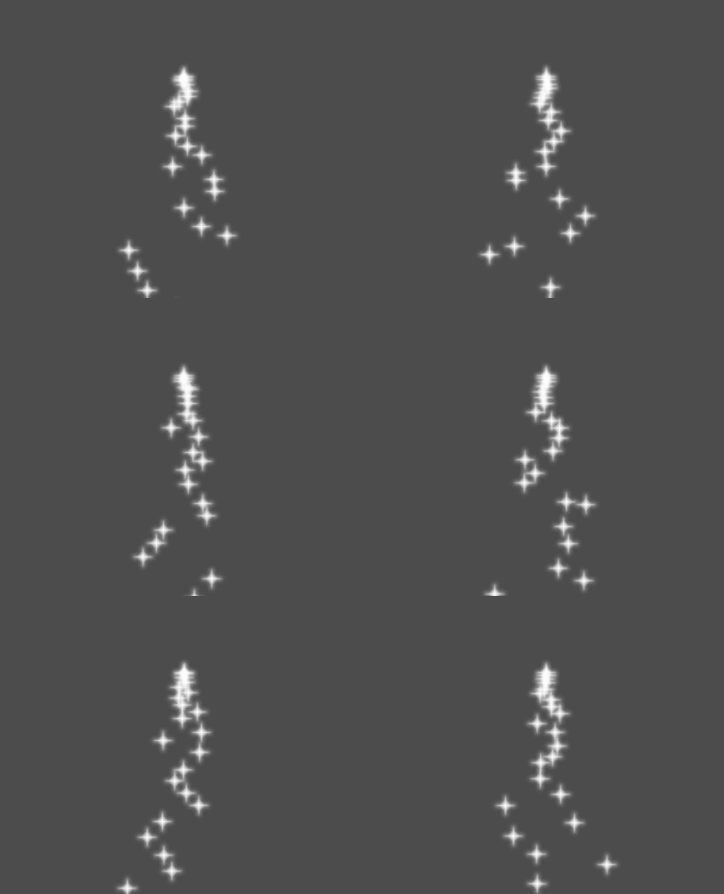
Tangential Acceleration(切向加速度)
该加速度会使用从粒子到中心点的切向量, 结合径向加速度可以做出很酷炫的效果.
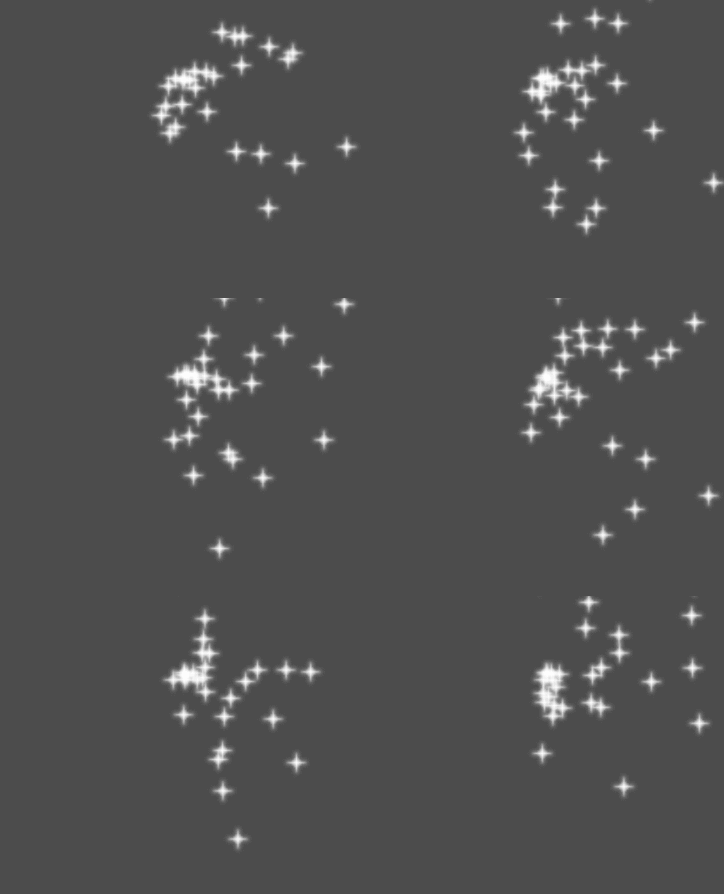
Damping(阻尼)
阻尼选项会对颗粒施加摩擦力, 迫使它们停止. 它特别适用于火花或爆炸, 火花或爆炸通常以高线速度开始, 然后在他们隐去时停下来.
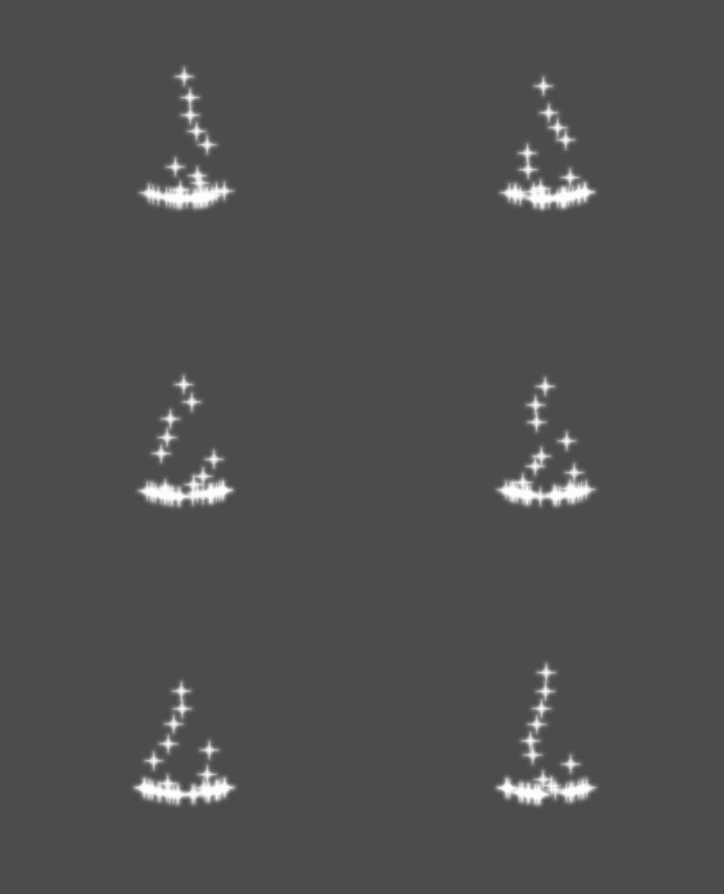
Angle(角度)
确定粒子的初始角度(以度为单位). 该参数通常在随机化后会有用.
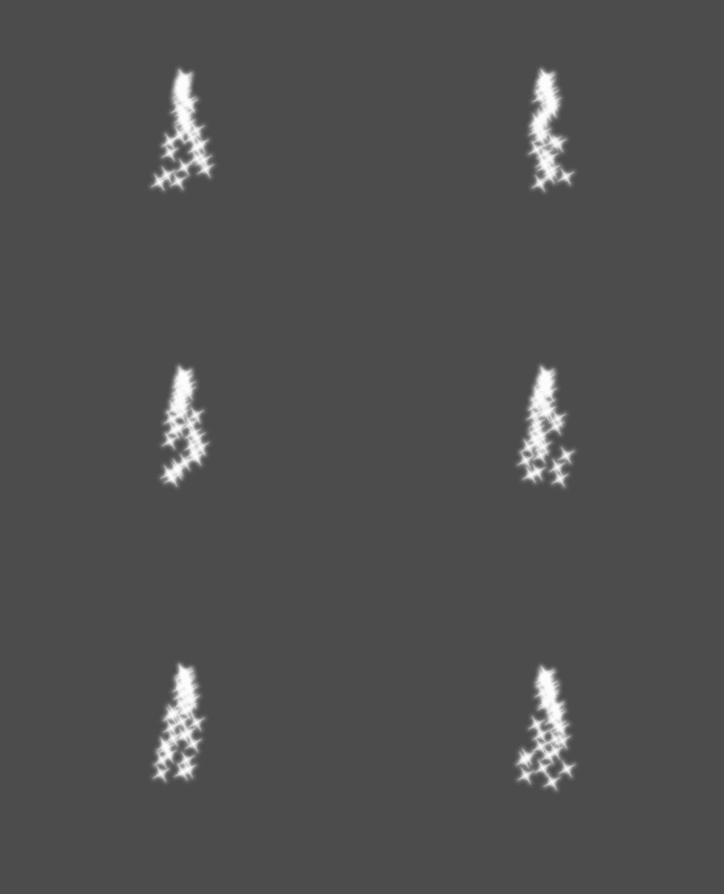
Scale(大小)
确定粒子的初始大小.
Color
用于改变发射出来的粒子颜色.
Hue Variation(色相变化)
Variation 值设置的是应用于每个粒子的初始色调变化. Variation Rand 值控制色调变化的随机性比率.
动画
备注
仅当 GPUParticles2D 或 CPUParticles2D 节点上使用的 CanvasItemMaterial 已进行 相应配置 时,粒子翻页动画才有效。
如要将粒子翻页设置为线性播放,请将 Speed Min 和 Speed Max 值设置为 1:
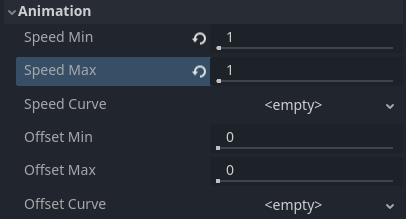
设置粒子动画以便在粒子生命周期内播放
默认情况下,循环功能是禁用的。如果粒子在其生命周期结束之前播放完毕,则粒子将继续使用翻页的最后一帧(根据翻页纹理的设计方式,这一帧可能是完全透明的)。如果启用循环,粒子的动画将循环回到第一帧并重复播放。
根据精灵表包含的图像数量以及粒子的存活时间情况,你的动画可能看起来会并不流畅。粒子的存活时间、动画速度和精灵表中图像数量之间的关系是这样的:
备注
当动画速度为 1.0 时,动画将在粒子生命周期结束时,播放到序列中的最后一个图像。
如果你希望将粒子翻页用作每个粒子的随机粒子纹理源,请将速度值保持为 0 ,并将 Offset Max 设置为 1:
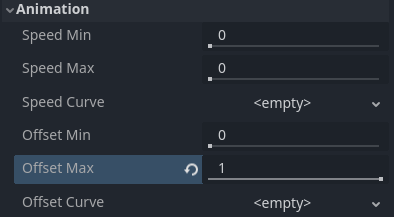
设置粒子动画以实现发射时的随机偏移
请注意,GPUParticles2D 节点的 Fixed FPS 也会影响动画播放。为了动画播放流畅,建议将其设置为 0,以便在每个渲染帧上模拟粒子。如果这个设置不适合你的用例,请将 Fixed FPS 设置为等于翻页动画使用的有效帧速率(请参阅上面的公式)。
发射形状
ParticleProcessMaterials 允许你设置发射蒙版,它决定发射粒子的区域和方向。 这些可以从项目中的纹理生成。
在设置了 ParticleProcessMaterial,并且选择了 GPUParticles2D 节点。 工具栏中就会出现“粒子”菜单:

打开它, 选择"加载 Emission Mask(发射遮挡)":
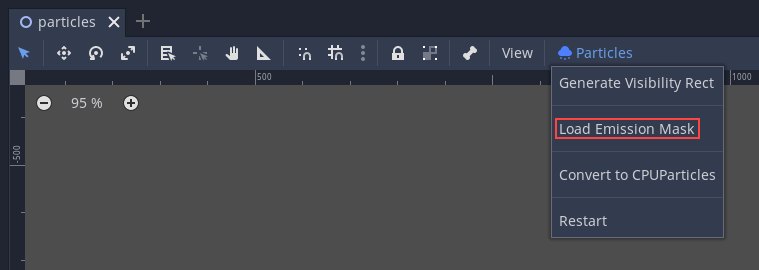
然后选择你想要用作遮挡的纹理:
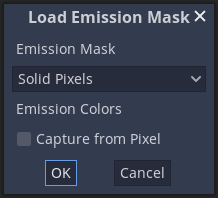
会出现一个具有多个设置的对话框.
发射遮罩
纹理可以生成三种类型的发射遮挡:
Solid Pixels(实心像素): 粒子将从纹理的任何区域产生, 透明区域除外.
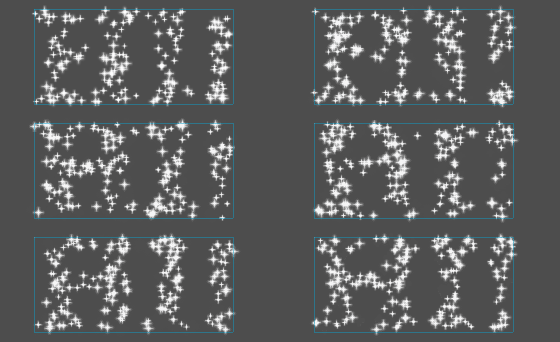
Border Pixels(边界像素): 粒子将从纹理的外边缘产生.
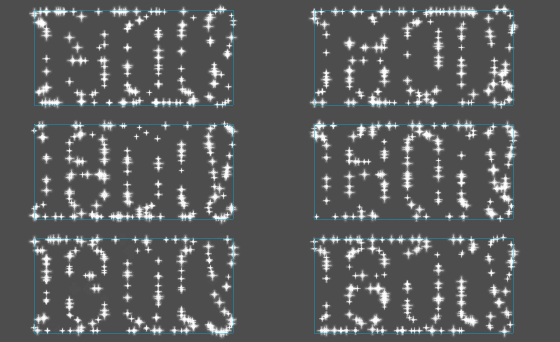
Directed Border Pixels(定向边界像素): 类似于边界像素, 在遮罩中添加额外的信息, 使粒子能够从边缘发射出去. 请注意, 想要使用它, 需要设置一个
初始速度.
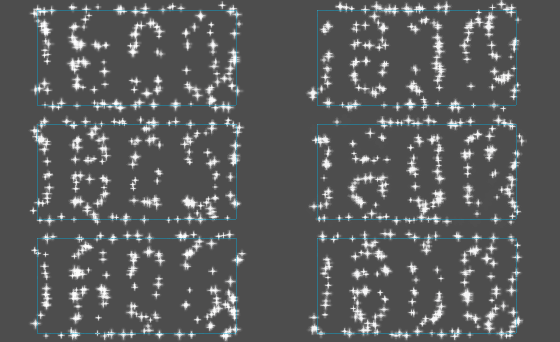
发射色彩
Capture from Pixel 会使粒子在其产生点处继承遮挡材质的颜色.
在单击“确定”后,将生成遮罩并将其设置为 Emission Shape 下的 ParticleProcessMaterial:
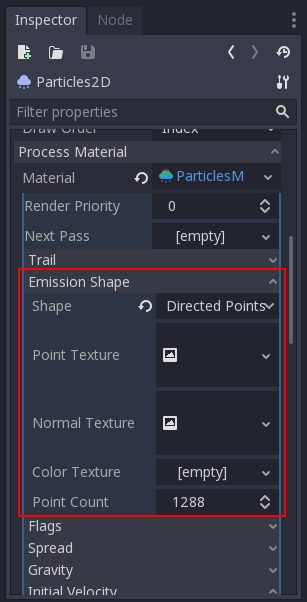
这个部分所有提到的值, "加载Emission Mask(发射遮挡)"菜单都会自动生成, 所以通常他们放着不管就可以了.
备注
不应该直接添加图像到 Point Texture 或 Color Texture 中. 应该始终使用"加载Emisson Mask(发射遮挡)"菜单.