Up to date
This page is up to date for Godot 4.2.
If you still find outdated information, please open an issue.
Code::Blocks
Code::Blocks 是一款自由、开源且跨平台的 IDE。
创建一个新项目
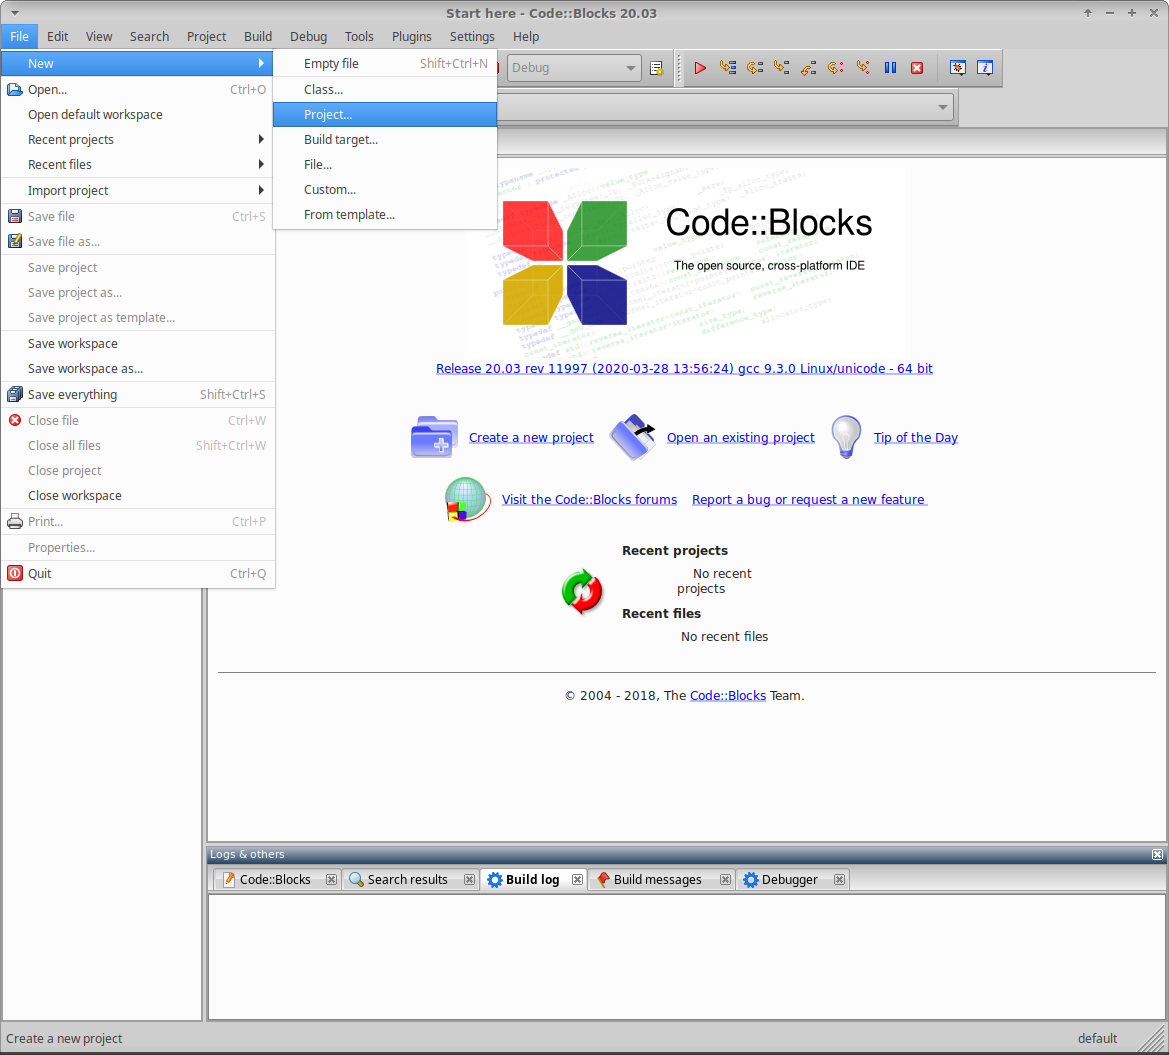
在 Code::Blocks 的主界面,点击创建新项目或选择文件 > 新建 > 项目...。
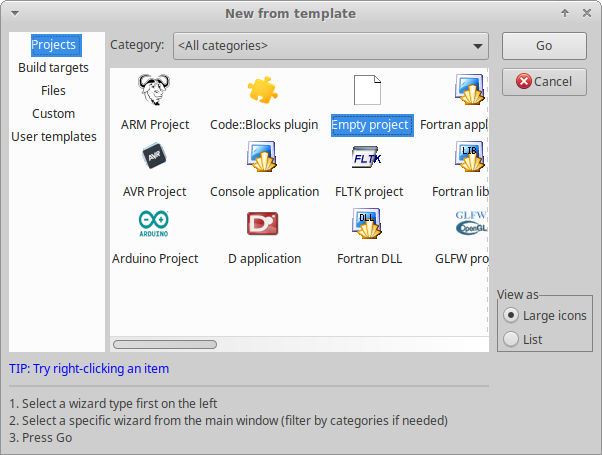
打开 新建模板(New from template) 窗口中, 从 项目(Projects) 中, 选择 空项目(Empty project) , 然后点击 前往(Go) .
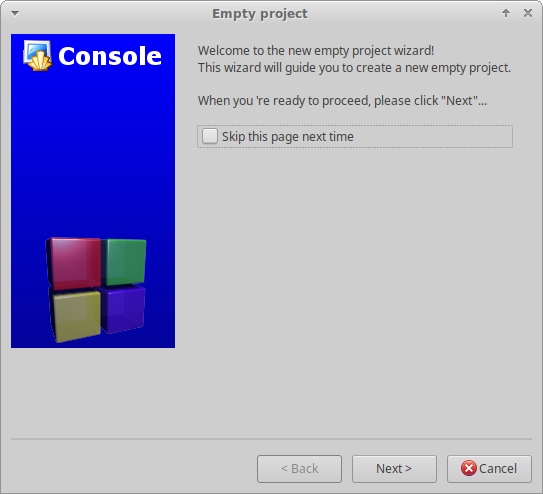
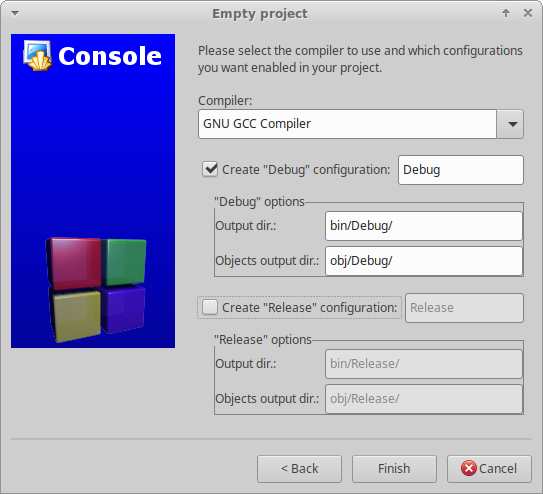
单击 "下一步", 将欢迎传递到新的空项目向导中.
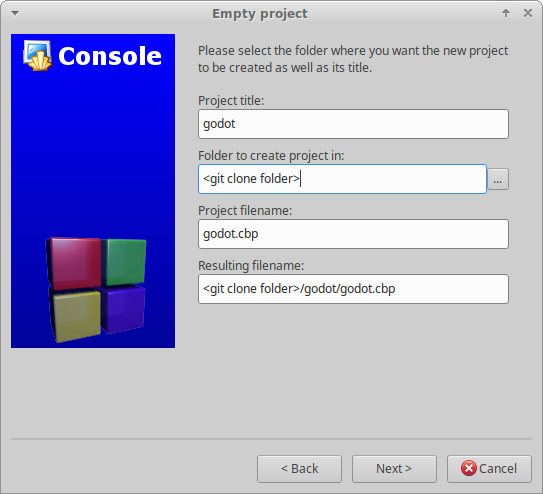
项目文件应该在克隆的项目文件夹的根目录下创建. 要做到这一点, 首先, 确保 项目标题 与Godot被克隆到的文件夹名称相同. 除非你将项目克隆到一个不同名称的文件夹中, 否则将是 godot .
其次, 确保 创建项目的文件夹 是你运行Git克隆命令的文件夹, 而不是 godot 项目文件夹. 确认 结果文件名 字段将在克隆的项目文件夹的根目录下创建项目文件.
编译器和配置设置是通过 SCons 管理的, 稍后将进行配置. 然而, 值得取消选择 Create "Release" 配置 选项;因此在点击 Finish 之前, 只创建一个构建目标.
配置构建
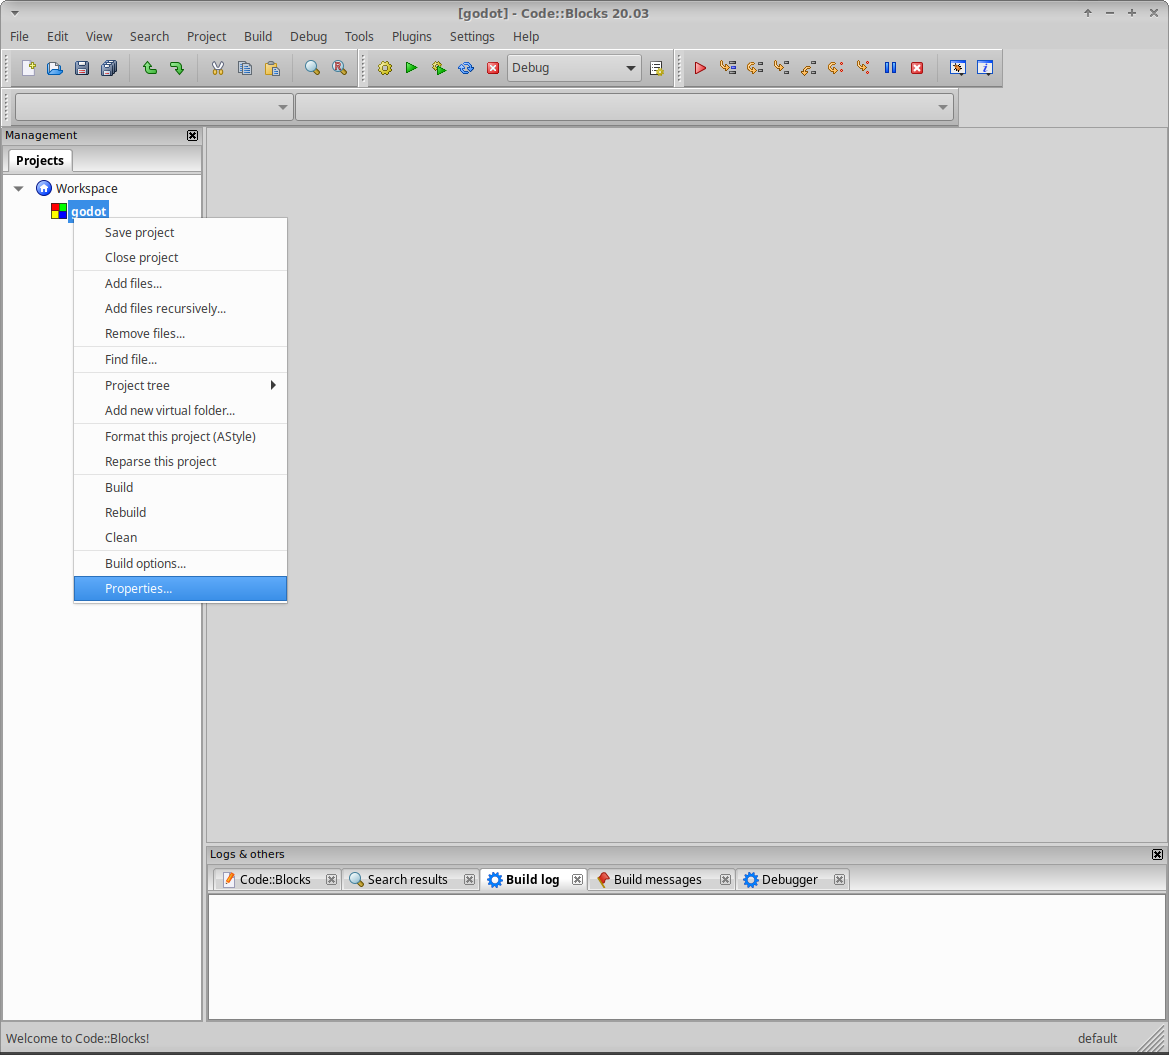
第一步是更改项目属性. 右击新项目, 选择 属性... .
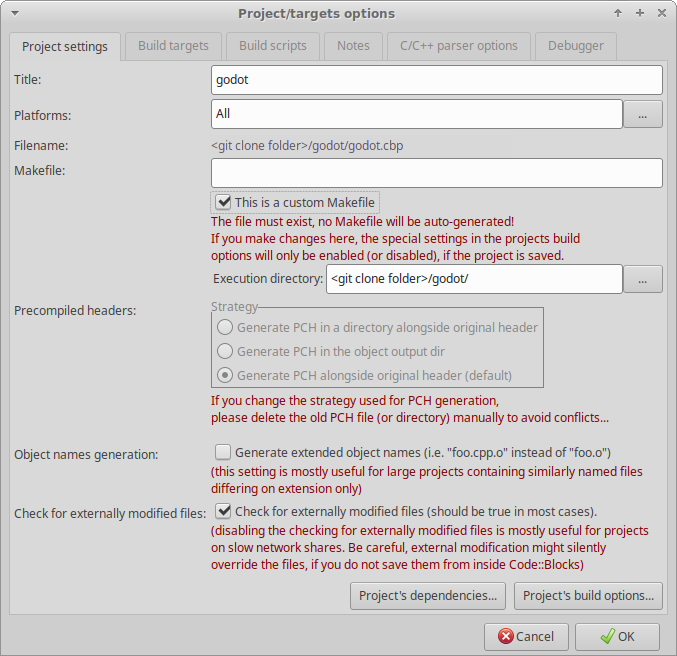
勾选 This is a custom Makefile 属性. 单击 "确定" 保存更改.
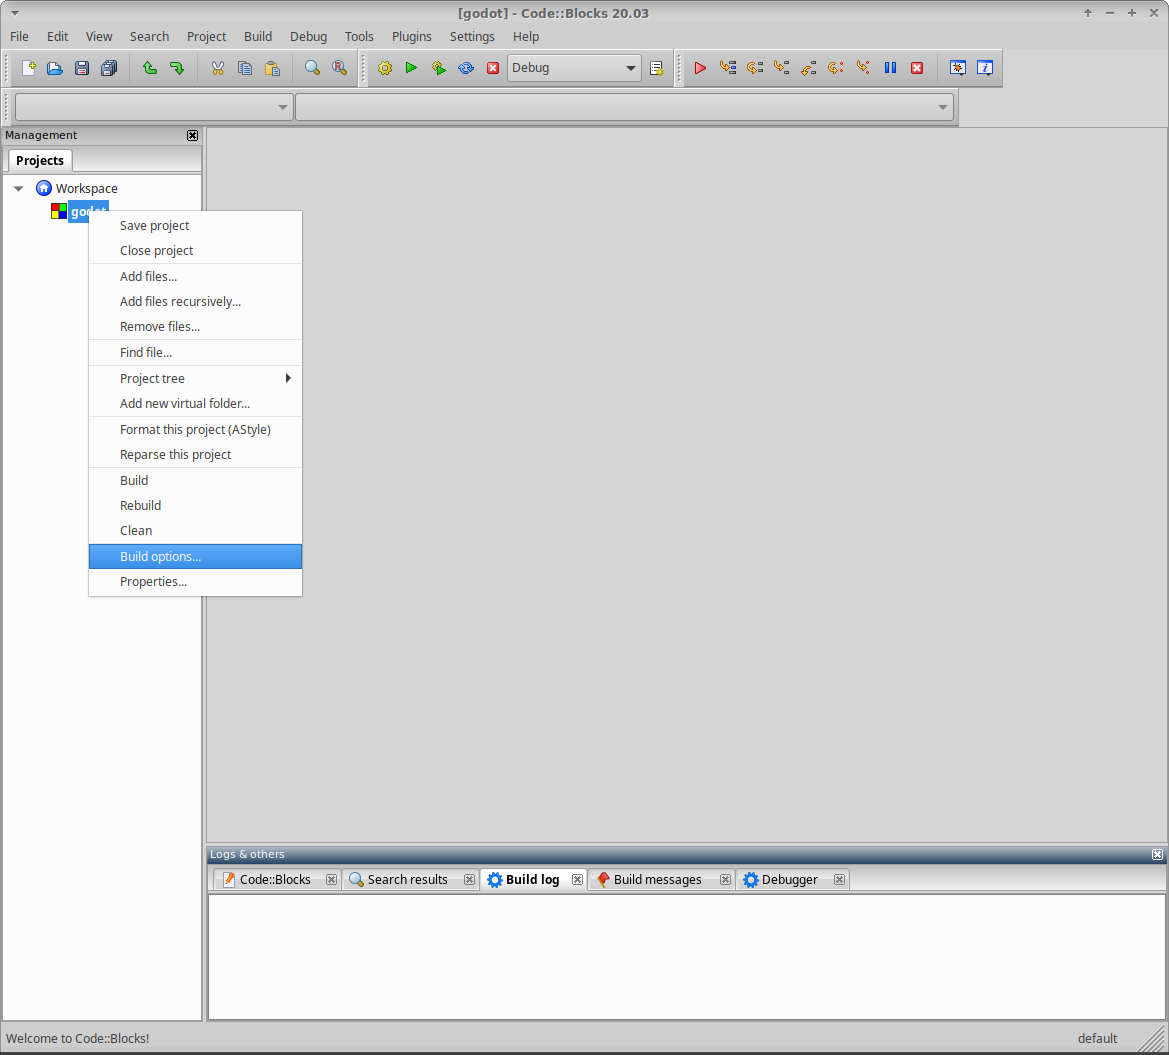
下一步是更改构建选项. 右键点击新项目, 选择 构建选项... .
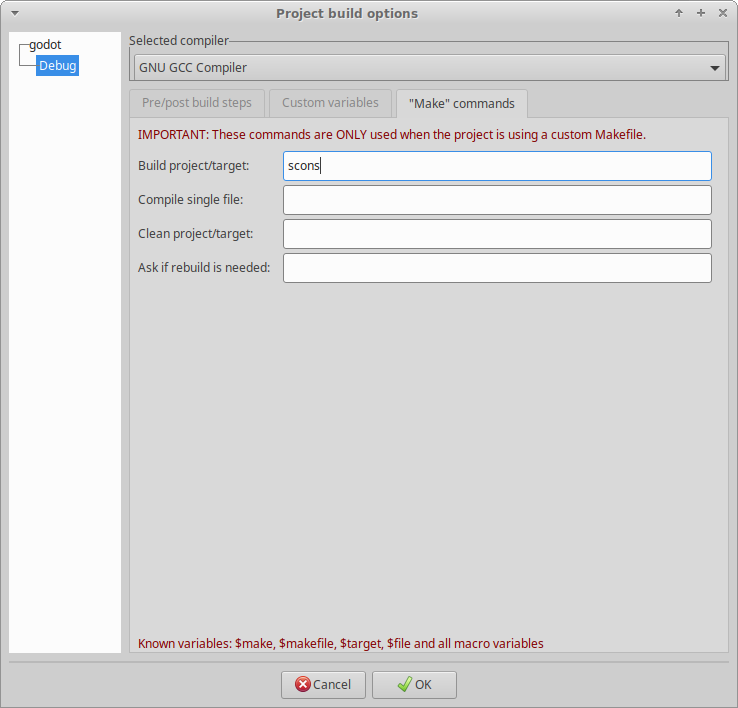
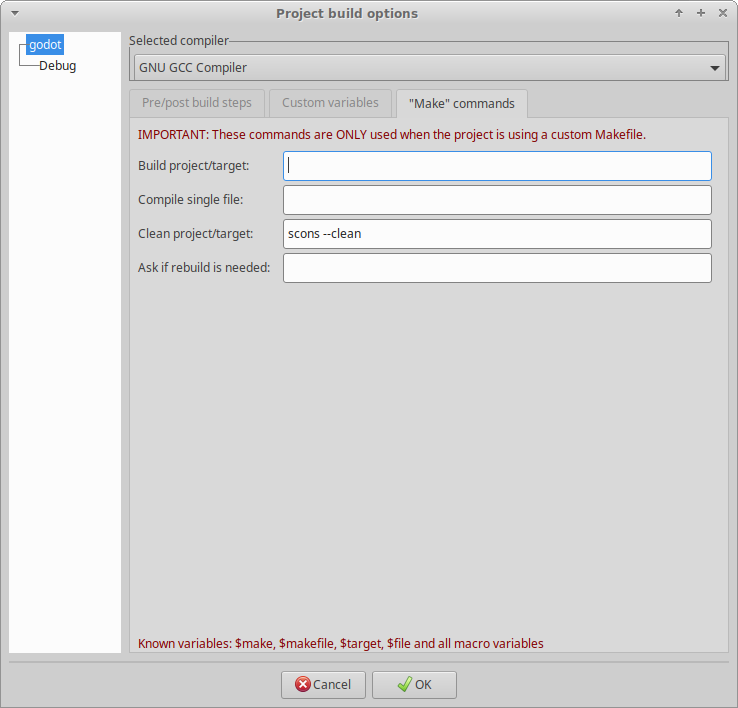
Select the "Make" commands tab and remove all the existing commands for all the build targets. For each build target enter the SCons command for creating the desired build in the Build project/target field. The minimum is scons. For details on the SCons build options, see 构建系统介绍. It's also useful to add the scons --clean command in the Clean project/target field to the project's default commands.
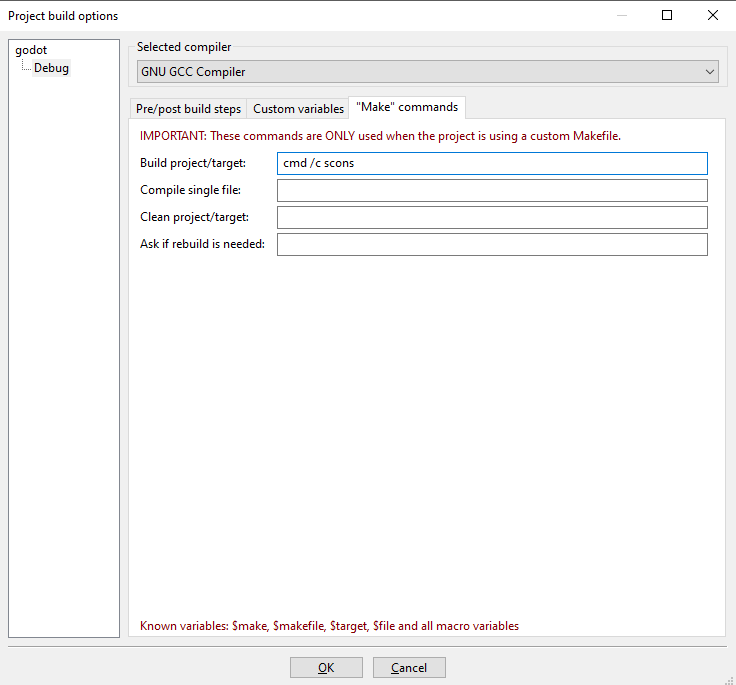
If you're using Windows, all the commands need to be preceded with cmd /c to initialize the command interpreter.
Windows示例:
Code::Blocks 现在应该被配置为构建 Godot;所以选择 Build > Build,点击齿轮按钮,或者按 Ctrl + F9。
配置运行
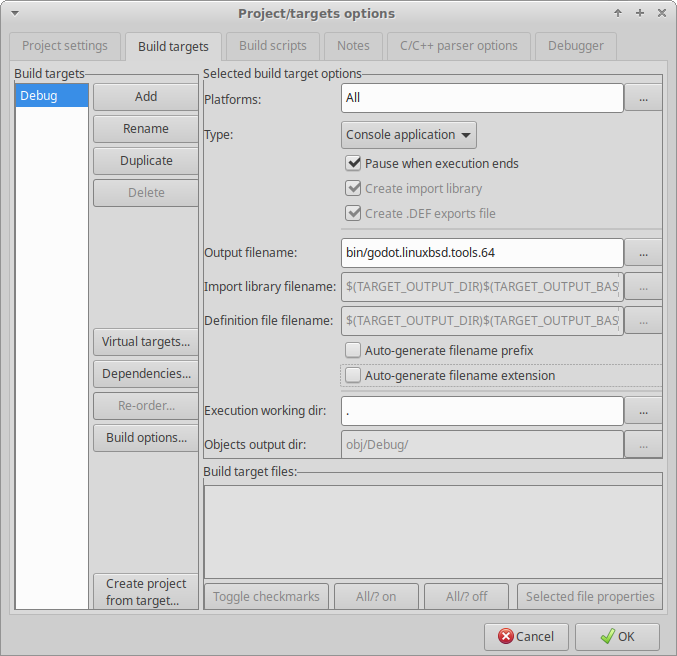
一旦 SCons 成功构建了所需的目标, 重新打开项目 Properties... 并选择 Build targets 选项卡. 在 输出文件名 字段, 浏览到 bin 文件夹, 选择编译文件.
取消选择 Auto-generate filename prefix(自动生成文件名前缀)和 Auto-generate filename extension(自动生成文件扩展名)选项。
Code::Blocks 现在应该被配置为运行你的编译后的 Godot 可执行文件;所以选择 Build > Run,点击绿色箭头按钮,或者按 Ctrl + F10。
还有两点值得注意. 首先, 如果需要, Execution working dir 字段可用于测试特定项目, 将其设置为包含 project.godot 文件的文件夹. 其次, Build targets 选项卡可用于添加和删除构建目标, 以便使用和创建不同的构建.
将文件添加到项目
要将所有Godot代码文件添加到项目中, 右击新项目, 选择 递归添加文件... .
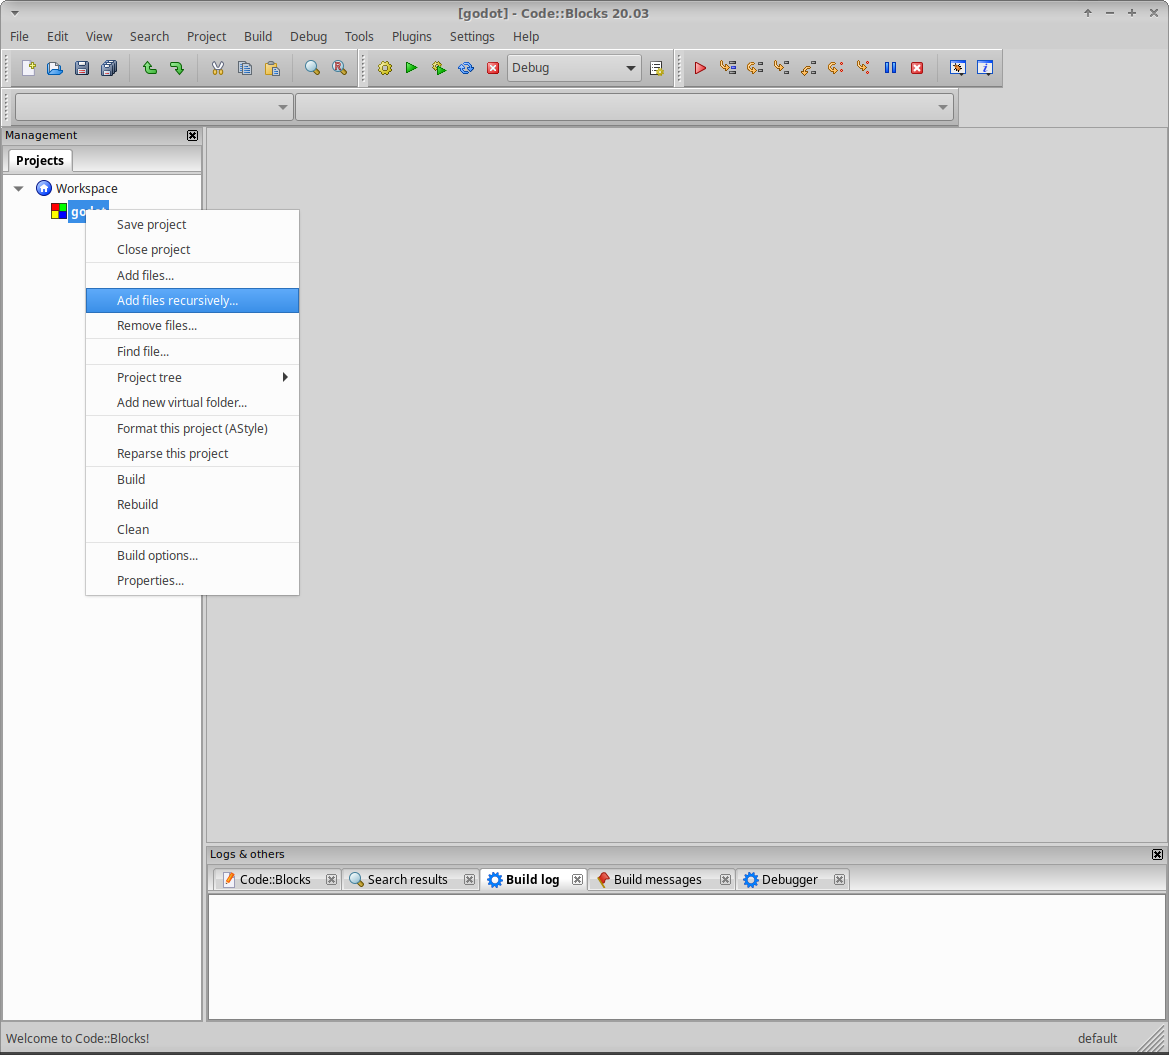
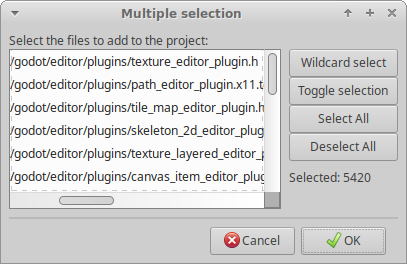
它应该会自动选择项目文件夹;所以单击 打开 . 默认情况下, 所有的代码文件都已被包含在内, 所以只需单击 确定 即可.
代码风格配置
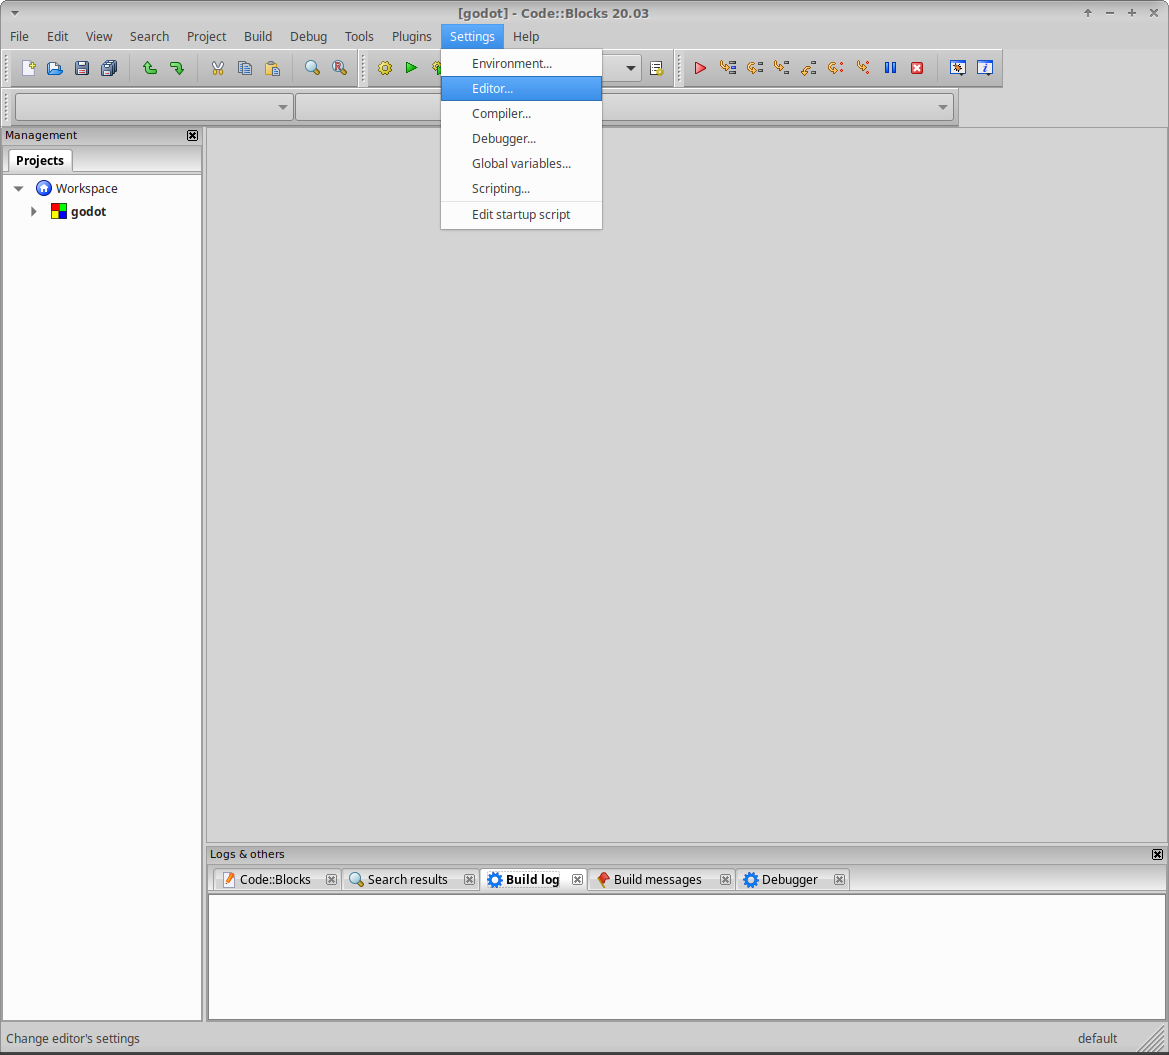
在编辑任何文件以前,请记住,所有的代码文件都应该遵守 代码风格规范。与 Godot 中的一个很大的不同是制表符缩进的使用。因此,需要启用 Code::Blocks 编辑器设置中的制表符缩进。该设置可以在 Settings > Editor 中找到。
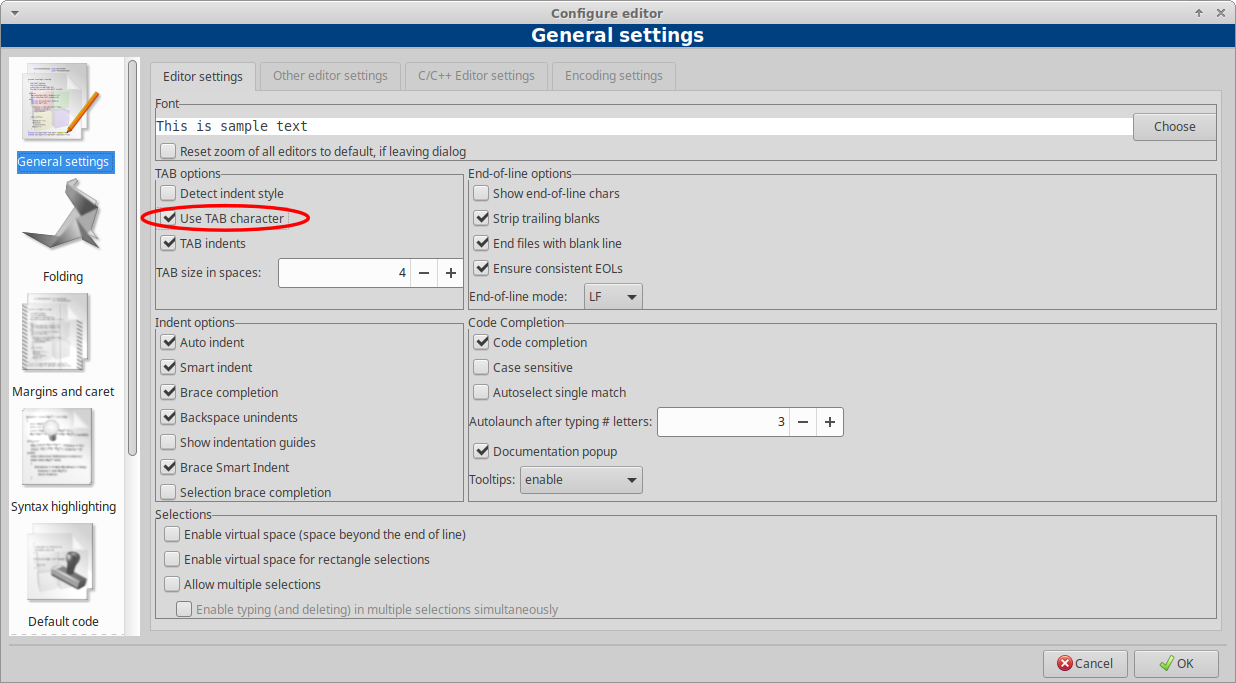
在 General Settings(常规设置) --> Editor Settings(编辑器设置) --> tab选项 下单击 Use TAB character(使用TAB字符) .
这样一来,你就可以开始使用 Code::Blocks IDE 来向 Godot 贡献代码了。记得保存项目文件和 Workspace 。如果遇到了问题,可以在 Godot 的社区频道 中求助。