Attention: Here be dragons
This is the latest
(unstable) version of this documentation, which may document features
not available in or compatible with released stable versions of Godot.
Checking the stable version of the documentation...
Использование VisualShaders
VisualShaders — это визуальная альтернатива для создания шейдеров.
Поскольку шейдеры неразрывно связаны с визуальными эффектами, подход на основе графов с предварительным просмотром текстур, материалов и т. д. обеспечивает значительное дополнительное удобство по сравнению с шейдерами, основанными исключительно на скриптах. С другой стороны, визуальные шейдеры не раскрывают всех возможностей скрипта шейдера, и для достижения определённых эффектов может потребоваться их параллельное использование.
Примечание
Если вы не знакомы с шейдерами, начните с прочтения Введение в шейдеры.
Создание VisualShader
VisualShaders можно создавать в любом ShaderMaterial. Чтобы начать использовать VisualShaders, создайте новый ShaderMaterial в объекте по вашему выбору.

Затем назначьте ресурс Shader свойству Shader.
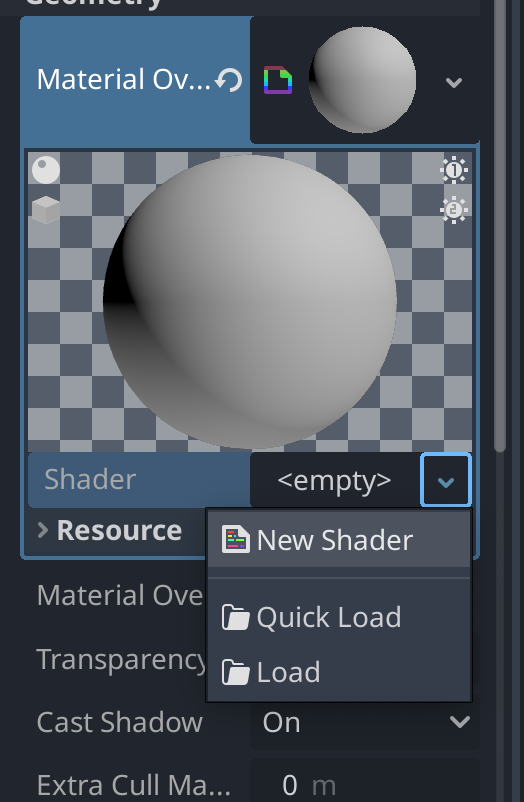
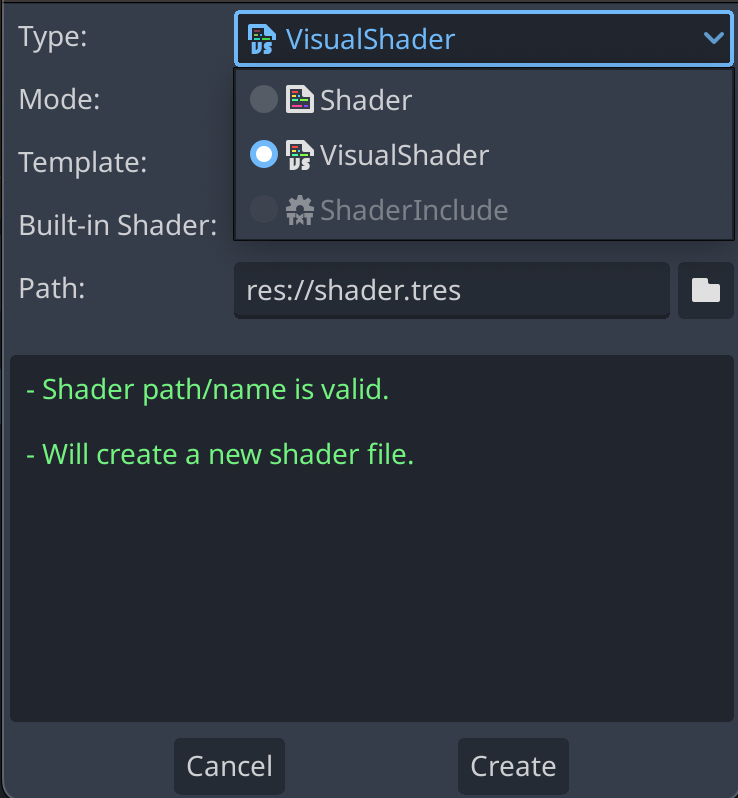
Щелкните новый ресурс Shader, и автоматически откроется диалоговое окно «Create Shader». Измените тип на VisualShader в раскрывающемся списке, а затем дайте ему имя.
Щелкните по только что созданному визуальному шейдеру, чтобы открыть Редактор Шейдеров. Редактор шейдеров состоит из четырёх частей: списка файлов слева, верхней панели инструментов, самого графика и отключаемого предварительного просмотра материала справа

Слева направо на панели инструментов:
Стрелку можно использовать для переключения видимости панели файлов.
Кнопка
Fileоткрывает раскрывающееся меню для сохранения, загрузки и создания файлов.Кнопка
Add Nodeотображает всплывающее меню, позволяющее добавлять узлы в шейдерный граф.В раскрывающемся меню выбирается тип шейдера: вершинный, фрагментный и световой. Как и в случае скриптовых шейдеров, оно определяет, какие встроенные узлы будут доступны.
Следующие кнопки и ввод цифр управляют уровнем масштабирования, привязкой к сетке и расстоянием между линиями сетки (в пикселях).
Переключатель определяет, будет ли видна мини-карта графика в правом нижнем углу редактора.
Кнопка автоматического упорядочивания выбранных узлов попытается упорядочить все выбранные вами узлы максимально эффективно и аккуратно.
Кнопка "Manage Varyings" открывает раскрывающийся список, позволяющий добавить или удалить изменение.
Кнопка "show generated code" показывает код шейдера, соответствующий вашему графику.
Переключатель включает и выключает предварительный просмотр материала.
Кнопка
Online Docsоткрывает эту страницу документации в вашем веб-браузере.Последняя кнопка позволяет поместить редактор шейдеров в отдельное окно, отдельное от остального редактора.
Примечание
Хотя VisualShaders не требуют написания кода, они используют ту же логику, что и скриптовые шейдеры. Рекомендуется изучить основы обоих шейдеров, чтобы хорошо понимать процесс шейдинга.
Граф визуального шейдера преобразуется в скриптовый шейдер в фоновом режиме, и вы можете увидеть этот код, нажав последнюю кнопку на панели инструментов. Это может быть удобно для понимания того, что делает конкретный узел и как воспроизвести это в скриптах.
Использование Visual Shader Editor
По умолчанию каждый новый VisualShader будет иметь выходной узел. Каждое соединение с узлом заканчивается одним из сокетов выходного узла. Узел — это базовая единица для создания шейдера. Чтобы добавить новый узел, нажмите кнопку Добавить узел в левом верхнем углу или щёлкните правой кнопкой мыши по любой пустой точке графа, и появится меню.

Это всплывающее окно имеет следующие свойства:
Если щелкнуть правой кнопкой мыши по графику, это меню будет вызвано в позиции курсора, и созданный узел в этом случае также будет помещен под эту позицию; в противном случае он будет создан в центре графика.
Его размер может быть изменен по горизонтали и вертикали, что позволяет отображать больше содержимого. Трансформация размера и положение содержимого дерева сохраняются между вызовами, поэтому если вы внезапно закрыли всплывающее окно, вы можете легко восстановить его предыдущее состояние.
Параметры
Expand AllиCollapse Allв раскрывающемся меню параметров можно использовать для удобного вывода списка доступных узлов.Вы также можете перетаскивать узлы из всплывающего окна на график.
Хотя во всплывающем окне узлы отсортированы по категориям, поначалу это может показаться чрезмерно сложным. Попробуйте добавить несколько узлов, подключите их к выходному разъему и понаблюдайте, что произойдет.
При подключении любого scalar выхода к vector входу все компоненты вектора примут значение скаляра.
При подключении любого vector выхода к скалярному входу значение скаляра будет средним значением компонентов вектора.
Интерфейс узла Visual Shader
Узлы визуального шейдера имеют входные и выходные порты. Входные порты расположены на левой стороне узла, а выходные — на правой.
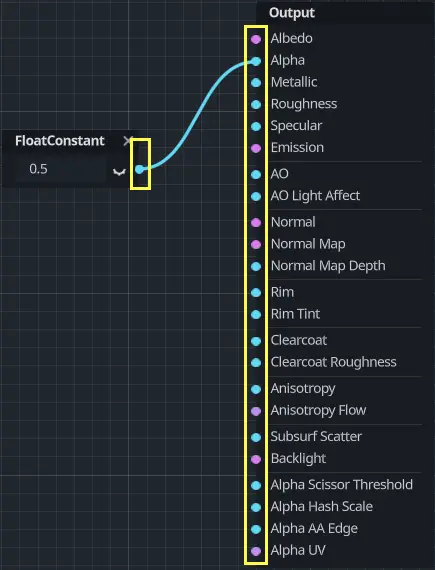
Эти порты окрашены в разные цвета для различения типов портов:
Тип |
Цвет |
Описание |
Пример |
|---|---|---|---|
Scalar |
Серый |
Скаляр - это единственное значение. |
|
Вектор |
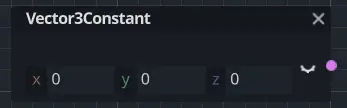
Фиолетовый |
Вектор - это набор значений. |
|
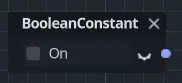
Boolean |
Зелёный |
Включено или выключено, true or false (правда или ложь). |
|
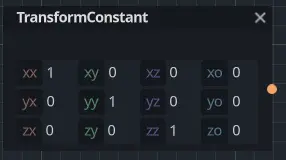
Преобразование |
Розовый |
Матрица, обычно используемая для преобразования вершин. |
|
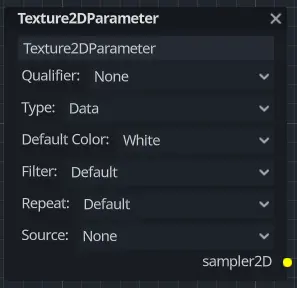
Sampler |
Orange |
Сэмплер текстур. Может использоваться для создания сэмплов текстур. |
|
Все типы используются при расчёте вершин, фрагментов и источников света в шейдере. Например, умножение матриц, сложение векторов или скалярное деление.
Существуют и другие типы, но это основные.
Узлы Визуального Шейдера
Ниже приведены некоторые специальные узлы, о которых стоит знать. Этот список не является исчерпывающим и может быть расширен новыми узлами и примерами.
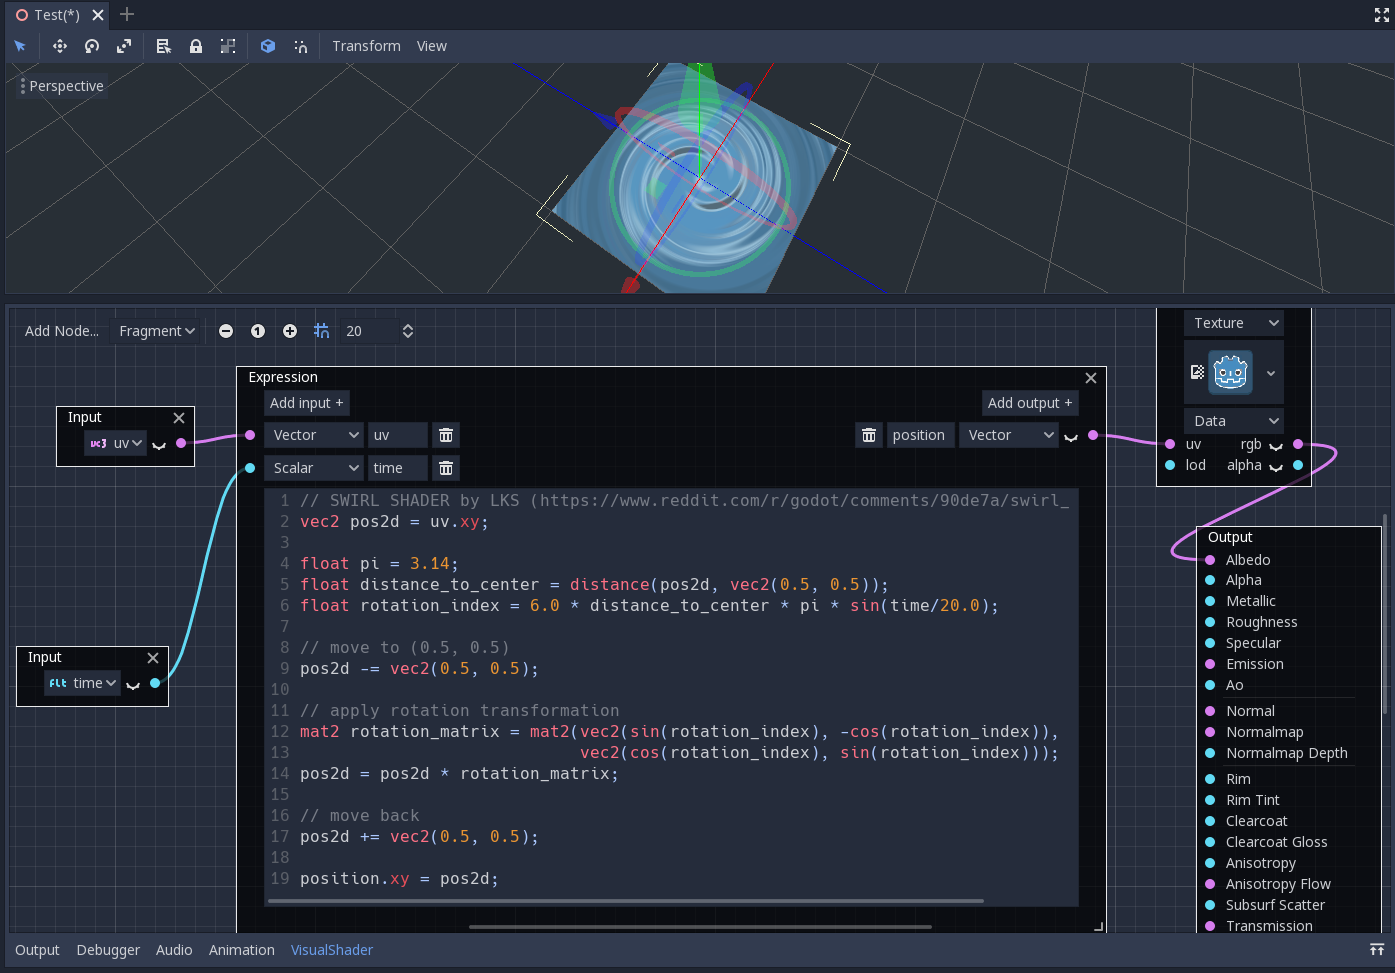
Узел выражения
Узел Expression позволяет вам писать выражения на языке Godot Shading Language (GLSL-подобном) внутри ваших визуальных шейдеров. Узел имеет кнопки для добавления любого количества необходимых портов ввода и вывода и может быть изменен в размерах. Вы также можете задать имя и тип каждого порта. Введенное вами выражение будет немедленно применено к материалу (как только фокус покинет текстовое поле выражения). Любые ошибки синтаксического анализа или компиляции будут выведены на вкладку Output. По умолчанию выходы инициализируются нулевым значением. Узел находится на вкладке Special и может использоваться во всех режимах шейдера.
Возможности этого узла практически безграничны — вы можете писать сложные процедуры и использовать всю мощь текстовых шейдеров, таких как циклы, ключевое слово discard, расширенные типы и т. д. Например:
Узел Reroute
Узел Rerroute используется исключительно в организационных целях. В сложном шейдере с множеством узлов пути между ними могут затруднять чтение. Reroute, как следует из названия, позволяет корректировать путь между узлами для облегчения чтения. Можно даже создать несколько узлов reroute для одного пути, что позволяет создавать прямые углы.

Чтобы переместить узел reroute, наведите на него курсор мыши и возьмитесь за появившуюся ручку.

Узел Fresnel
Узел Fresnel предназначен для приема векторов нормали и вида и создает скаляр, представляющий собой их насыщенное скалярное произведение. Кроме того, можно настроить инверсию и степень уравнения. Узел Fresnel отлично подходит для добавления к объектам эффекта свечения, напоминающего ореол.

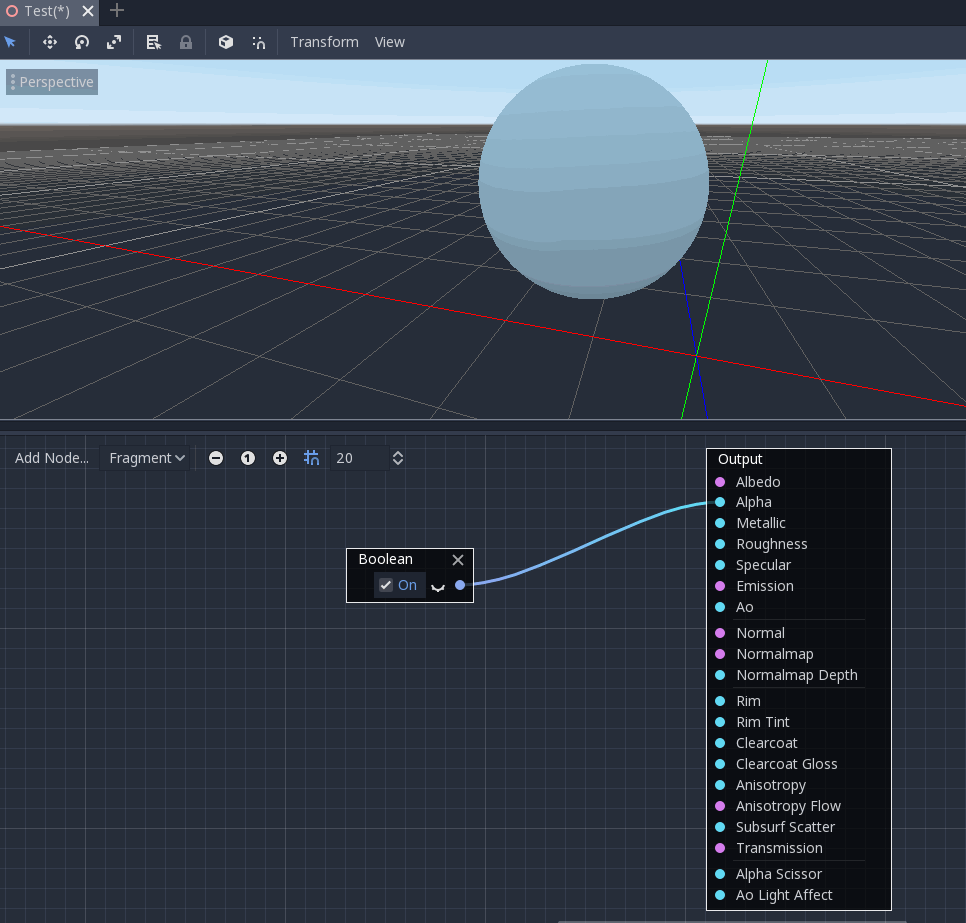
Узел Boolean
Узел Boolean можно преобразовать в Scalar или Vector для представления 0 или 1 и (0, 0, 0) или (1, 1, 1) соответственно. Это свойство можно использовать для включения или отключения некоторых частей эффекта одним щелчком мыши.
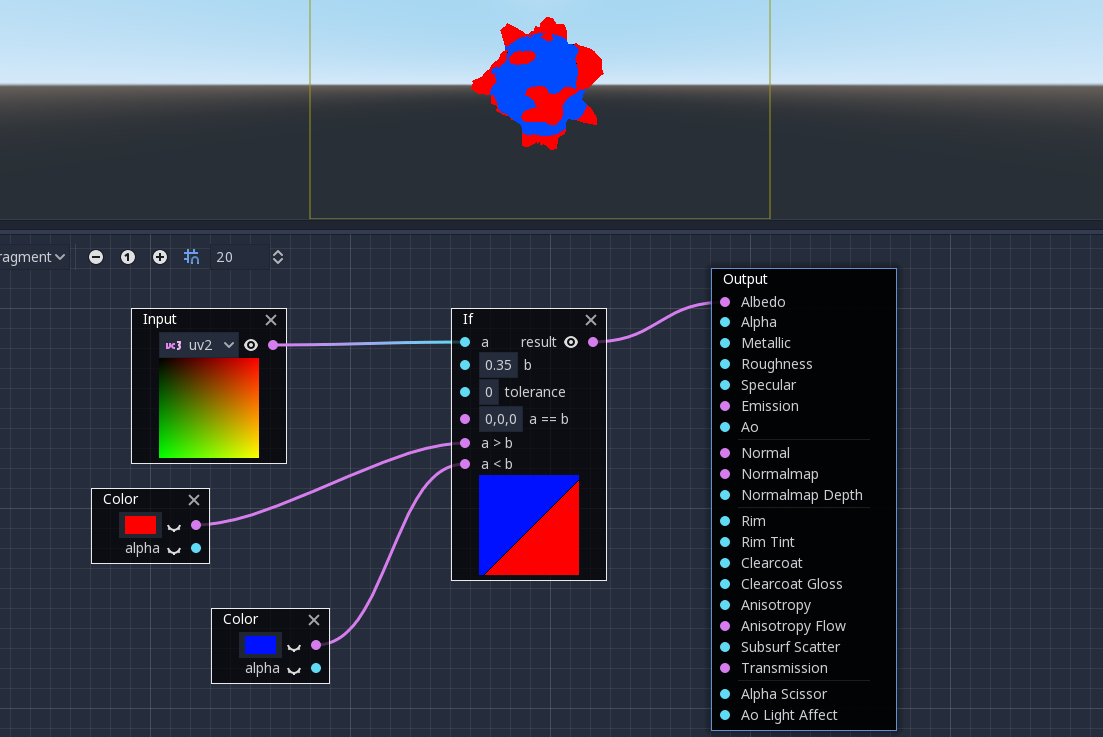
Узел If
Узел If позволяет задать вектор, который будет возвращать результат сравнения a и b. Могут быть возвращены три вектора: a == b (в этом случае параметр допуска используется как порог сравнения – по умолчанию он равен минимальному значению, то есть 0.00001), a > b и a < b.
Узел Switch
Узел Switch возвращает вектор, если логическое условие равно true или false. Boolean был представлен выше. Чтобы преобразовать вектор в логическое значение, все его компоненты должны быть ненулевыми.

Mesh Emitter (Сетчатый излучатель)
Узел Mesh Emitter используется для испускания частиц из вершин сетки. Доступно только для шейдеров в режиме Particles.
Имейте в виду, что не все 3D-объекты являются файлами сеток. Файл glTF нельзя перетащить в граф. Однако вы можете создать на его основе унаследованную сцену, сохранить сетку в этой сцене как отдельный файл и использовать её.

Вы также можете перетаскивать obj-файлы в редактор графиков, чтобы добавить узел для этой конкретной сетки; другие файлы сеток для этого не подойдут.