Attention: Here be dragons
This is the latest
(unstable) version of this documentation, which may document features
not available in or compatible with released stable versions of Godot.
Checking the stable version of the documentation...
Ваш второй 3D-шейдер
На высоком уровне, то, что делает Godot, дает пользователю кучу параметров, которые можно установить по желанию (AO, SSS_Strength, RIM и т.д.). Эти параметры соответствуют различным сложным эффектам (Ambient Occlusion, SubSurface Scattering, Rim Lighting и т.д.). Если эти параметры не записаны, код выбрасывается до компиляции, и таким образом шейдер не несет затрат на дополнительную функцию. Это позволяет пользователям легко получить сложное PBR-корректное затенение без написания сложных шейдеров. Конечно, Godot также позволяет игнорировать все эти параметры и написать полностью индивидуальный шейдер.
Полный список этих параметров смотрите в справочном документе spatial shader.
Разница между вершинной функцией и фрагментной функцией заключается в том, что вершинная функция выполняется для каждой вершины и задает такие свойства, как VERTEX (позиция) и NORMAL, тогда как фрагментный шейдер выполняется для каждого пикселя и, что самое важное, задает цвет ALBEDO для MeshInstance3D.
Ваша первая функция spatial fragment (пространственного фрагмента)
Как уже упоминалось в предыдущей части этого руководства. Стандартное использование функции фрагмента в Godot - это установка различных свойств материала и предоставление Godot сделать все остальное. Для того чтобы обеспечить еще большую гибкость, Godot также предоставляет вещи, называемые режимами рендеринга. Режимы рендеринга устанавливаются в верхней части шейдера, непосредственно под shader_type, и они определяют, какой функциональностью вы хотите наделить встроенные аспекты шейдера.
Например, если вы не хотите, чтобы свет влиял на объект, установите режим рендеринга на unshaded:
render_mode unshaded;
Вы также можете объединить несколько режимов рендеринга. Например, если вы хотите использовать мультяшный шейдинг вместо более реалистичного PBR-шейдинга, установите диффузный и зеркальный режимы на мультяшный:
render_mode diffuse_toon, specular_toon;
Эта модель встроенной функциональности позволяет писать сложные пользовательские шейдеры, изменяя всего несколько параметров.
Полный список режимов рендера смотрите в Spatial shader reference.
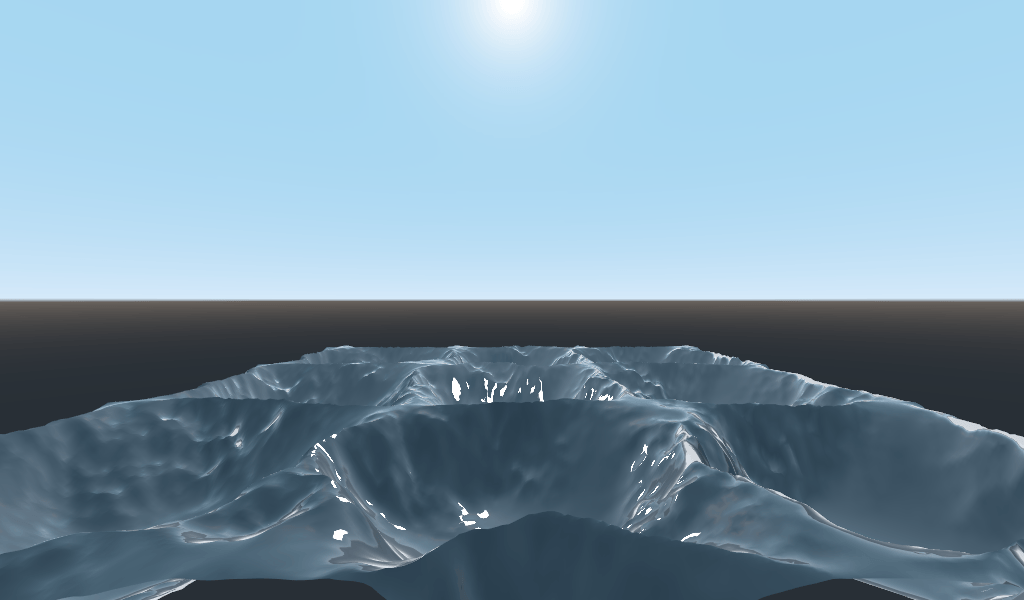
В этой части урока мы рассмотрим, как превратить неровную местность из предыдущей части в океан.
Сначала зададим цвет воды. Для этого зададим параметр ALBEDO.
ALBEDO — это vec3, содержащий цвет объекта.
Давайте установим красивый оттенок синего.
void fragment() {
  ALBEDO = vec3(0.1, 0.3, 0.5);
}
Мы установили очень темный оттенок синего, потому что большая часть синевы воды будет обусловлена отражением от неба.
Модель PBR, которую использует Godot, опирается на два основных параметра: МЕТАЛЛИЧЕСКИЙ и РОГАННОСТЬ.
ROUGHNESS определяет, насколько гладкой/шероховатой является поверхность материала. Низкая ROUGHNESS сделает материал похожим на блестящий пластик, в то время как высокая шероховатость заставит материал казаться более твердым по цвету.
METALLIC определяет, насколько объект похож на металл. Лучше установить значение, близкое к 0 или 1. Думайте о METALLIC как об изменении баланса между отражением и цветом ALBEDO. При высоком METALLIC почти полностью игнорируется ALBEDO и выглядит как зеркало неба. В то время как низкий METALLIC имеет более равное представление цвета неба и ALBEDO.
ROUGHNESS увеличивается от 0 к 1 слева направо, а METALLIC увеличивается от 0 к 1 сверху вниз.

Примечание
METALLIC должен быть близок к 0 или 1 для правильного затенения PBR. Для смешивания материалов устанавливайте только между ними.
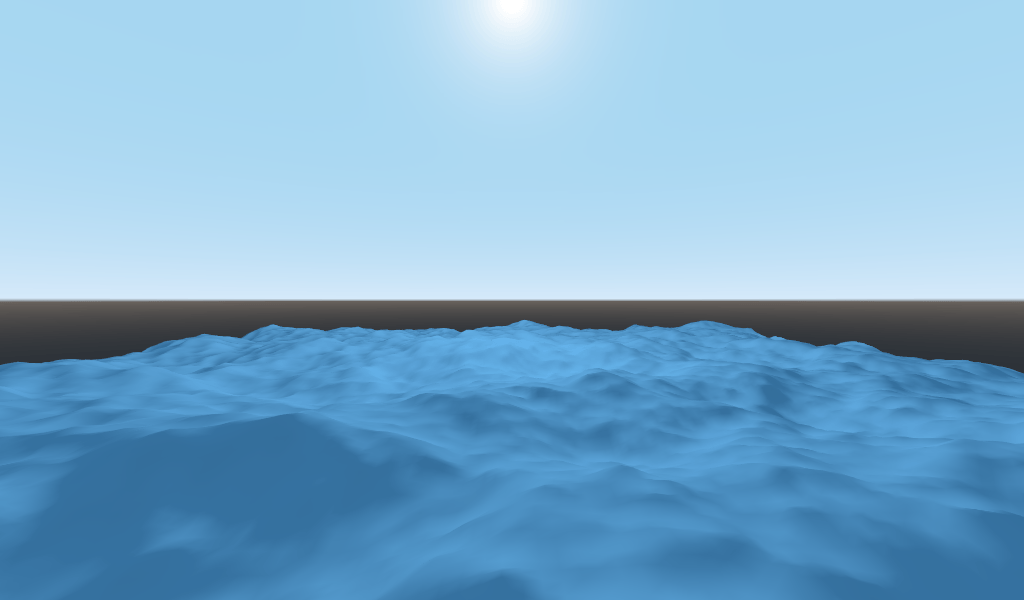
Вода не является металлом, поэтому мы установим ее свойство METALLIC на 0.0. Вода также обладает высокой отражательной способностью, поэтому мы установим ее свойство ROUGHNESS на довольно низком уровне.
void fragment() {
  METALLIC = 0.0;
  ROUGHNESS = 0.01;
  ALBEDO = vec3(0.1, 0.3, 0.5);
}
Теперь у нас есть гладкая поверхность, похожая на пластик. Пришло время подумать о некоторых свойствах воды, которые мы хотим имитировать. Есть два основных свойства, которые позволят нам превратить странную пластиковую поверхность в красивую стилизованную воду. Первое - это зеркальные отражения. Спекулярные отражения - это яркие пятна, которые вы видите, когда солнце отражается прямо в ваш глаз. Второе - отражение Френеля. Отражение Френеля - это свойство объектов становиться более отражающими под небольшим углом. Именно по этой причине вы можете видеть воду под собой, а вдали от вас отражается небо.
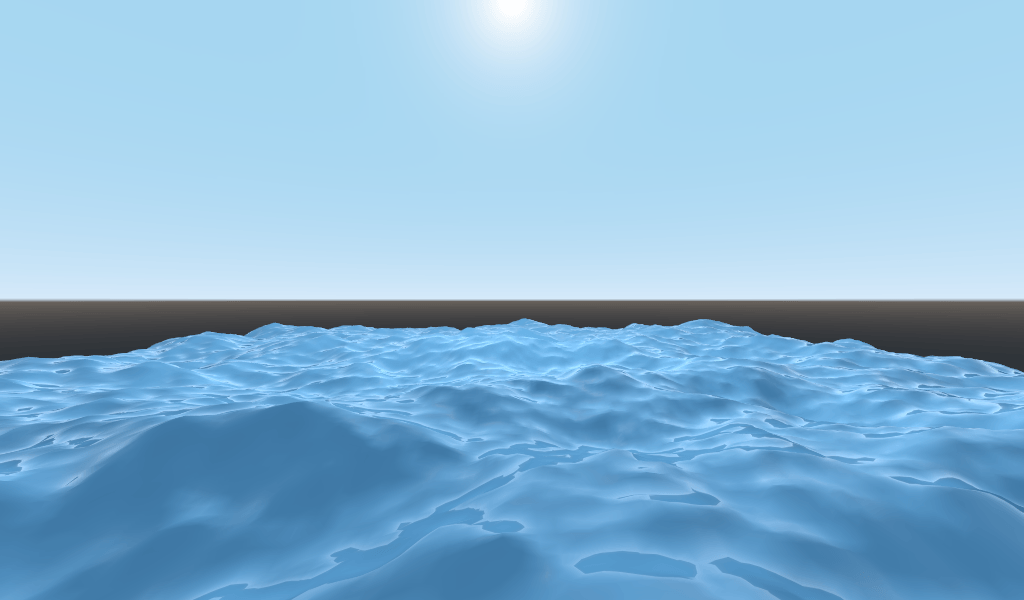
Для того чтобы увеличить зеркальные отражения, мы сделаем две вещи. Во-первых, мы изменим режим рендеринга для specular на toon, потому что режим рендеринга toon имеет больше спекулярных бликов.
render_mode specular_toon;

Во-вторых, мы добавим ободковое освещение. Окантовочное освещение усиливает эффект света под скользящими углами. Обычно оно используется для имитации прохождения света через ткань на краях объекта, но мы будем использовать его здесь, чтобы добиться красивого эффекта воды.
void fragment() {
  RIM = 0.2;
  METALLIC = 0.0;
  ROUGHNESS = 0.01;
  ALBEDO = vec3(0.1, 0.3, 0.5);
}
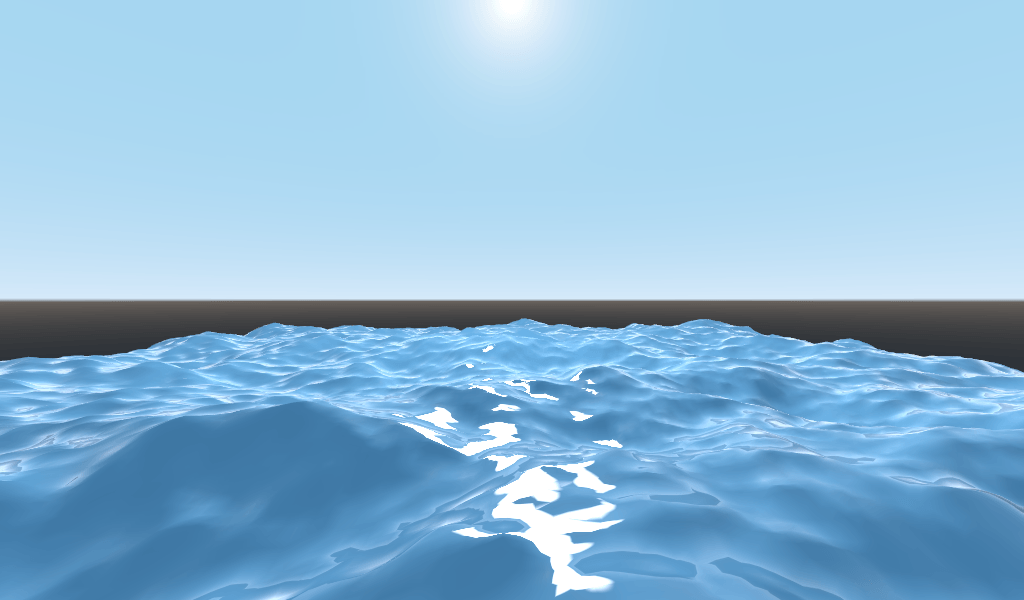
Чтобы добавить френелевское отражение, мы вычислим френелевский член в нашем фрагментном шейдере. Здесь мы не будем использовать настоящий френелевский член из соображений производительности. Вместо этого мы аппроксимируем его скалярным произведением векторов NORMAL и VIEW. Вектор NORMAL направлен от поверхности сетки, а вектор VIEW — это направление между вашим глазом и этой точкой на поверхности. Их скалярное произведение — удобный способ определить, смотрите ли вы на поверхность прямо или под скользящим углом.
float fresnel = sqrt(1.0 - dot(NORMAL, VIEW));
И добавьте его как в ROUGHNESS, так и в ALBEDO. В этом преимущество ShaderMaterials перед StandardMaterial3D. В StandardMaterial3D мы могли бы задать эти свойства текстурой или числом. Но с помощью шейдеров мы можем задать их на основе любой математической функции, которую только сможем придумать.
void fragment() {
  float fresnel = sqrt(1.0 - dot(NORMAL, VIEW));
  RIM = 0.2;
  METALLIC = 0.0;
  ROUGHNESS = 0.01 * (1.0 - fresnel);
  ALBEDO = vec3(0.1, 0.3, 0.5) + (0.1 * fresnel);
}
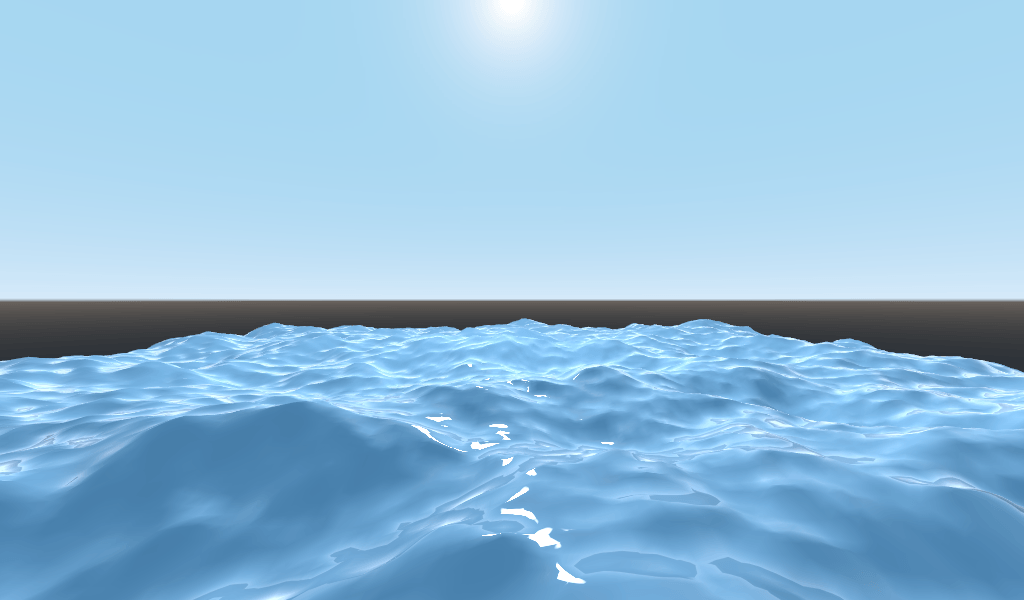
И теперь, всего с пятью строками кода, можно создать сложную воду. Теперь, когда у нас есть освещение, вода выглядит слишком яркой. Давайте затемним её. Это легко сделать, уменьшив значения vec3, которые мы передаем в ALBEDO. Установим их на vec3(0.01, 0.03, 0.05).

Анимация с помощью TIME
Возвращаясь к вершинной функции, мы можем анимировать волны, используя встроенную переменную TIME.
TIME — встроенная переменная, доступная из вершинных и фрагментных функций.
В прошлом уроке мы вычисляли высоту, считывая данные с карты высот. В этом уроке мы сделаем то же самое. Код карты высот поместим в функцию height().
float height(vec2 position) {
  return texture(noise, position / 10.0).x; // Scaling factor is based on mesh size (this PlaneMesh is 10×10).
}
Чтобы использовать TIME в функции height(), нам нужно передать ее.
float height(vec2 position, float time) {
}
И обязательно правильно передайте его внутрь вершинной функции.
void vertex() {
  vec2 pos = VERTEX.xz;
  float k = height(pos, TIME);
  VERTEX.y = k;
}
Вместо использования карты нормалей для расчёта нормалей мы будем вычислять их вручную в функции vertex(). Для этого используйте следующую строку кода.
NORMAL = normalize(vec3(k - height(pos + vec2(0.1, 0.0), TIME), 0.1, k - height(pos + vec2(0.0, 0.1), TIME)));
Нам нужно вычислить NORMAL вручную, потому что в следующем разделе мы будем использовать математику для создания сложных на вид волн.
Теперь мы немного усложним функцию height(), сместив position на косинус TIME.
float height(vec2 position, float time) {
  vec2 offset = 0.01 * cos(position + time);
  return texture(noise, (position / 10.0) - offset).x;
}
В результате волны движутся медленно, но не очень естественно. В следующем разделе мы подробнее рассмотрим использование шейдеров для создания более сложных эффектов, в данном случае реалистичных волн, путём добавления нескольких дополнительных математических функций.
Расширенные эффекты: волны
Мощь шейдеров заключается в возможности создания сложных эффектов с помощью математических вычислений. Чтобы проиллюстрировать это, мы выведем наши волны на новый уровень, изменив функцию height() и добавив новую функцию wave().
wave() имеет один параметр, position, который такой же, как и в height().
Мы собираемся вызвать wave() несколько раз в height(), чтобы имитировать внешний вид волн.
float wave(vec2 position){
  position += texture(noise, position / 10.0).x * 2.0 - 1.0;
  vec2 wv = 1.0 - abs(sin(position));
  return pow(1.0 - pow(wv.x * wv.y, 0.65), 4.0);
}
На первый взгляд это кажется сложным. Давайте разберёмся по пунктам.
position += texture(noise, position / 10.0).x * 2.0 - 1.0;
Сместите положение на текстуру noise. Это придаст волнам искривлённый вид, и они не будут прямыми линиями, полностью выровненными по сетке.
vec2 wv = 1.0 - abs(sin(position));
Определим волнообразную функцию с помощью sin() и position. Обычно волны sin() очень округлые. Мы используем abs() для придания им абсолютной формы, чтобы придать им острый край и ограничить диапазоном от 0 до 1. Затем мы вычитаем значение из 1.0, чтобы получить пик наверху.
return pow(1.0 - pow(wv.x * wv.y, 0.65), 4.0);
Умножьте волну, направленную по оси x, на волну, направленную по оси y, и возведите в степень, чтобы сделать пики более острыми. Затем вычтите результат из 1.0, чтобы гребни стали пиками, и возведите его в степень, чтобы сделать гребни более острыми.
Теперь мы можем заменить содержимое нашей функции height() на wave().
float height(vec2 position, float time) {
  float h = wave(position);
  return h;
}
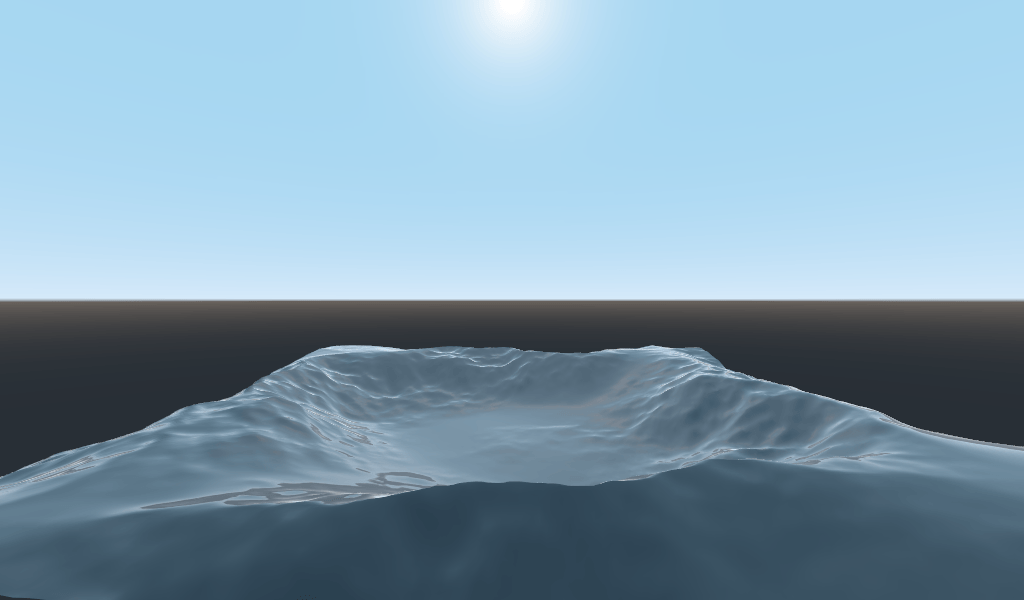
Используя это, вы получите:
Форма синусоидальной волны слишком очевидна. Давайте немного разнесём волны. Этого можно добиться, масштабируя position.
float height(vec2 position, float time) {
  float h = wave(position * 0.4);
  return h;
}
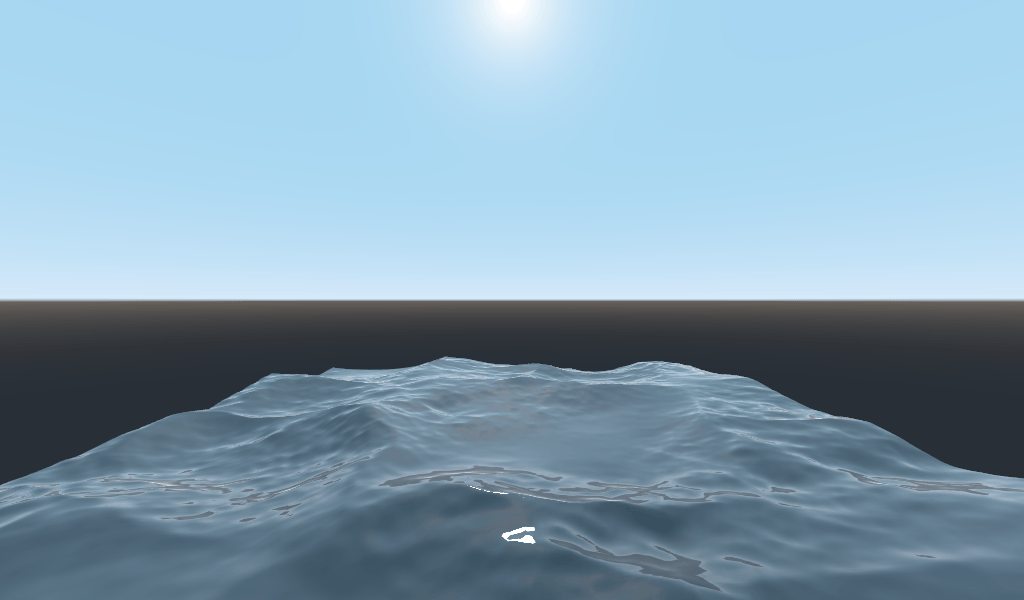
Теперь все выглядит намного лучше.
Мы можем добиться ещё большего эффекта, наложив друг на друга несколько волн с разными частотами и амплитудами. Это означает, что мы будем масштабировать положение каждой из них, чтобы сделать волны тоньше или шире (частоту). И мы будем умножать выходной сигнал волны, чтобы сделать их короче или выше (амплитуду).
Вот пример того, как можно наложить четыре волны друг на друга, чтобы добиться более красивого вида.
float height(vec2 position, float time) {
  float d = wave((position + time) * 0.4) * 0.3;
  d += wave((position - time) * 0.3) * 0.3;
  d += wave((position + time) * 0.5) * 0.2;
  d += wave((position - time) * 0.6) * 0.2;
  return d;
}
Обратите внимание, что мы прибавляем время к двум и вычитаем его из двух других. Это заставляет волны двигаться в разных направлениях, создавая сложный эффект. Также обратите внимание, что сумма амплитуд (число, на которое умножается результат) равна 1.0. Это позволяет поддерживать волну в диапазоне от 0 до 1.
С помощью этого кода вы должны получить более сложные на вид волны, и все, что вам нужно сделать, это добавить немного математики!
Подробнее о Spatial (пространственных) шейдерах см. в документации Shading Language и Spatial Shaders. Также ознакомьтесь с более подробными руководствами в разделах Shading section и 3D.