Attention: Here be dragons
This is the latest
(unstable) version of this documentation, which may document features
not available in or compatible with released stable versions of Godot.
Checking the stable version of the documentation...
Сцена гравця та дій введення
В наступних двох уроках ми спроектуємо сцену гравця, зареєструємо спеціальні дії введення та закодуємо рух гравця. Зрештою, у вас вийде ігровий персонаж, який рухається у восьми напрямках.
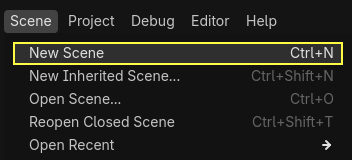
Створіть нову сцену, перейшовши до меню Сцена у верхньому лівому куті та натиснувши Нова сцена.
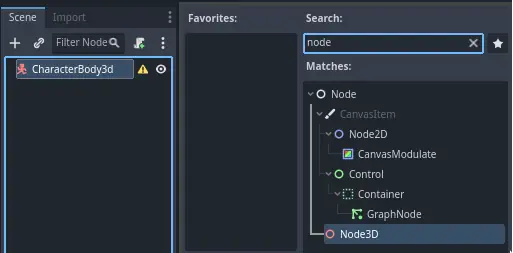
Натисніть кнопку Інший вузол та виберіть тип вузла CharacterBody3D, щоб створити CharacterBody3D як кореневий вузол.

Перейменуйте CharacterBody3D на Player. Тіла персонажів доповнюють площу та тверді тіла, що використовуються в навчальній програмі 2D-гри. Як і тверді тіла, вони можуть рухатися та стикатися з навколишнім середовищем, але замість того, щоб керуватися фізичним двигуном, ви диктуєте їхній рух. Ви побачите, як ми використовуємо унікальні особливості вузла, коли кодуватимемо механіку стрибка та стиснення.
Дивись також
Щоб дізнатися більше про різні типи фізичних вузлів, перегляньте Вступ до курсу фізики.
На даний момент ми збираємося створити базовий конструкт (риг) для 3D-моделі нашого персонажа. Він дозволить нам обертати модель пізніше за допомогою коду, поки вона відтворює анімацію.
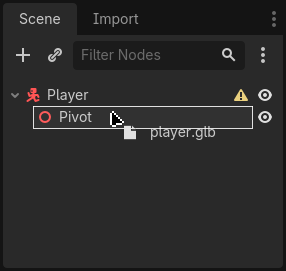
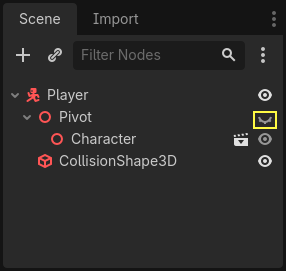
Додайте вузол Node3D як дочірній вузол Player. Виберіть вузол Player у дереві Scene та натисніть кнопку "+", щоб додати дочірній вузол. Перейменуйте його на Pivot.
Потім у доку FileSystem розгорніть папку art/, двічі клацнувши її, і перетягніть player.glb на Pivot.
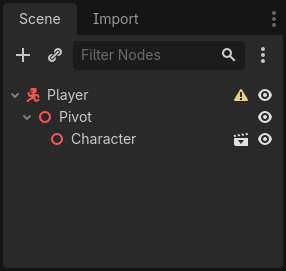
Це має створити екземпляр моделі як дочірнього елемента Pivot. Ви можете перейменувати його на Character.
Примітка
Файли .glb містять дані 3D-сцени на основі специфікації glTF 2.0 з відкритим кодом. Вони є сучасною та потужною альтернативою власному формату, такому як FBX, який Godot також підтримує. Щоб створити ці файли, ми розробили модель у Blender 3D та експортували її до glTF.
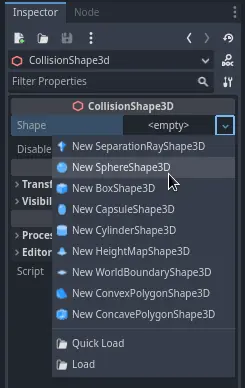
Як і з усіма видами фізичних вузлів, нам потрібна форма зіткнення, щоб наш персонаж стикався з оточенням. Знову виберіть вузол Player та додайте дочірній вузол CollisionShape3D. В Інспекторі, до властивості Shape, додайте новий SphereShape3D.
Сітка сфери зʼявляється під персонажем.
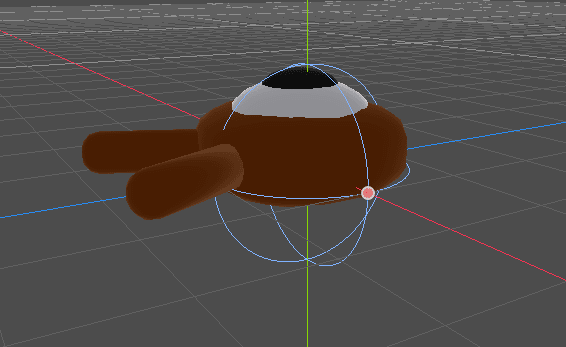
Це буде форма, яку використовує фізичний механізм для зіткнення з навколишнім середовищем, тому ми хочемо, щоб вона краще відповідала 3D-моделі. Зробіть його трохи більшим, перетягнувши помаранчеву крапку у вікні перегляду. Моя сфера має радіус приблизно 0,8 метрів.
Потім перемістіть форму зіткнення вгору, щоб її низ приблизно вирівнявся з площиною сітки.
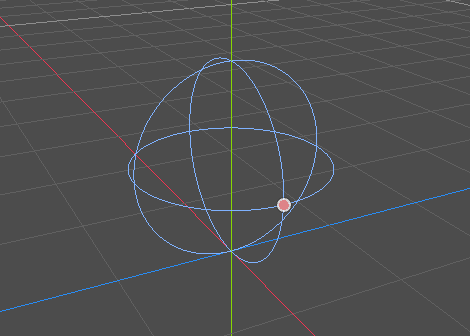
Щоб спростити переміщення фігури, ви можете змінити видимість моделі, натиснувши значок ока поруч із вузлами Персонаж або Опорна точка.
Збережіть сцену як player.tscn.
Підготувавши вузли ми можемо переходити до кодування. Але спочатку необхідно визначити деякі дії введення.
Створення дій введення
Щоб перемістити персонажа, ми прислухаємося до введення гравця, наприклад, натискання клавіш зі стрілками. У Godot, хоча ми могли б прописати всі прив'язки клавіш в коді, є потужна система, яка дозволяє призначити мітку комбінаціям клавіш і кнопок. Це спрощує наші скрипти і робить їх більш читабельними.
Ця система називається Вхідною Картаю. Щоб отримати доступ до її редактора, перейдіть до меню Проект та виберіть Налаштування проекту....

Угорі є кілька вкладок. Натисніть Ввести карту. Це вікно дозволяє додавати нові дії вгорі; це ваші мітки. У нижній частині ви можете прив’язати клавіші до цих дій.
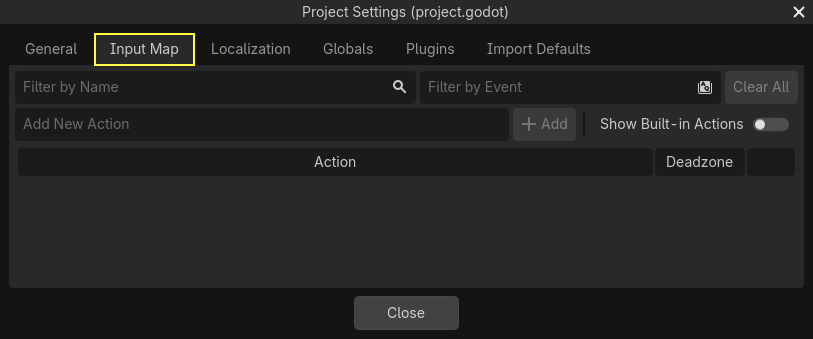
Проєкти Godot мають деякі попередньо визначені дії, розроблені для дизайну користувацького інтерфейсу (див. скріншот вище). Вони стануть видимими, якщо ви ввімкнете перемикач Показувати вбудовані дії. Ми могли б використовувати їх тут, але замість цього ми визначаємо власні для підтримки геймпадів. Залиште Показувати вбудовані дії вимкненим.
Ми назвемо наші дії move_left, move_right, move_forward, move_back, та jump.
Щоб додати дію, напишіть її назву у верхній частині рядка та натисніть Enter або натисніть кнопку Додати.

Створіть наступні п’ять дій:

Щоб прив’язати клавішу або кнопку до дії, натисніть кнопку «+» праворуч від неї. Зробіть це для move_left. Натисніть клавішу зі стрілкою вліво та натисніть OK.
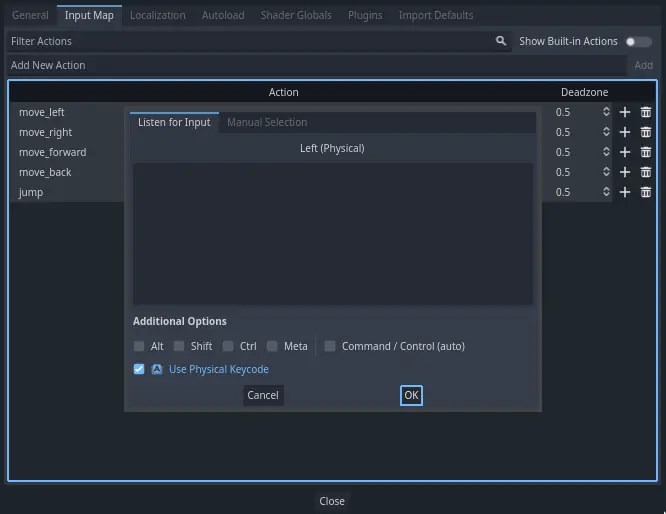
Повʼяж також кнопку A з подією move_left.

Давайте тепер додамо підтримку лівого джойстика геймпада. Знову натисніть кнопку "+", але цього разу виберіть вхідні дані в дереві вхідних даних самостійно. Виберіть негативну вісь X лівого джойстика в розділі Осі джойстика.
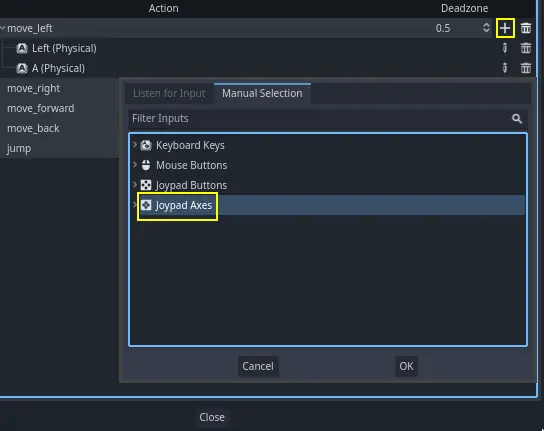
Залиште інші значення за замовчуванням і натисніть ОК.
Примітка
Якщо ви хочете щоб контролери мали різні вхідні події, потрібно скористатися з налаштувань Пристрою в Додаткових Опціях. Пристрій 0 відповіда за перший підʼєднаний геймпад, Пристрій 1 відповіда за другий підʼєднаний геймпад і так далі.
Виконайте те саме для інших дій введення. Наприклад, прив’яжіть стрілку вправо D і позитивну вісь лівого джойстика до move_right. Після прив’язки всіх ключів ваш інтерфейс має виглядати так.

Остання дія для налаштування - це jump дія. Прив’яжіть клавішу пробілу до кнопки A геймпада, розташованої під Кнопками джойстика.

Дія введення для стрибка має виглядати так.

Це всі дії, які нам потрібні для цієї гри. За допомогою цього меню можна позначити будь-які групи клавіш і кнопок у ваших проектах.
У наступній частині ми закодуємо і перевіримо рух гравця.