Attention: Here be dragons
This is the latest
(unstable) version of this documentation, which may document features
not available in or compatible with released stable versions of Godot.
Checking the stable version of the documentation...
Introduzione agli strumenti XR
Out of the box Godot gives you all the basic support to setup an XR project. XR specific game mechanics however need to be implemented on top of this foundation. While Godot makes this relatively easy this can still be a daunting task.
Per questo motivo Godot ha sviluppato un toolkit chiamato Godot XR Tools che implementa molte delle meccaniche di base presenti nei giochi XR, dalla locomozione all'interazione con gli oggetti fino all'interazione con l'interfaccia utente.
Questo toolkit è progettato per funzionare sia con i runtime OpenXR sia WebXR. Lo useremo come base per la nostra documentazione. Aiuta gli sviluppatori a partire con il piede giusto, ma per casi d'uso più specifici, creare la propria logica è altrettanto valido. In questo caso, gli strumenti XR possono essere di aiuto come ispirazione.
Installazione degli strumenti XR
Continuing on from our project we started in Configurazione del XR we want to add in the Godot XR Tools library.
This can be downloaded from the Godot XR Tools releases page.
Find the latest release for Godot 4, and under Assets, download the
godot-xr-tools.zip file. You can also find it in the asset library with the
title "Godot XR Tools for Godot 4".
If you're using the zip file, once it's downloaded unzip it.
You will notice the files are held within a godot-xr-tools subfolder.
Inside of this folder you will find an addons folder.
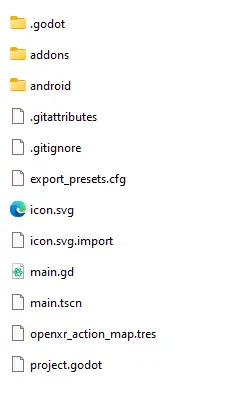
It is this folder that you want to copy in its entirety to your Godot project folder. Your project should now look something like this:
Now open up your project in Godot, if you haven't already, and give it a minute or so to import all the resources of the plugin. If it asks for a path to Blender to be set you can just click the option to disable blender import and restart the editor.
After the import finishes you may notice that several "failed to load script" messages popped up, that's normal, the plugin just needs to be enabled in the project settings.
Next open the Project menu and select Project Settings...
Now go to the Plugins tab and enable the plugin.
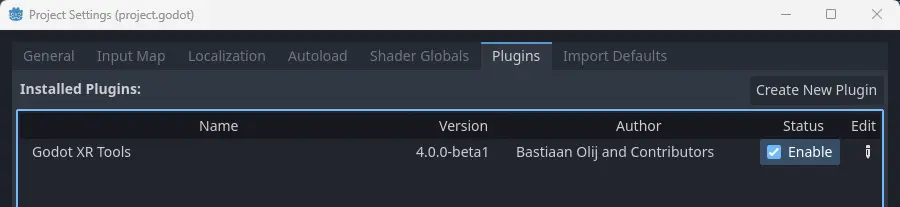
After doing that you need to close and re-open your project so everything is properly enabled.
Mani base
Just to get a feel of things we're going to add a few standard components that dress up our scene starting with hands for our player.
OpenXR supports full hand tracking however there currently are significant differences in capabilities between the different XR Runtimes.
As a reliable alternative Godot XR Tools comes with a number of rigged hand scenes that react on trigger and grip inputs of your controller. These hands come in low and high poly versions, come in a few configurations, a number of animation files to control finger positions and a number of different textures.
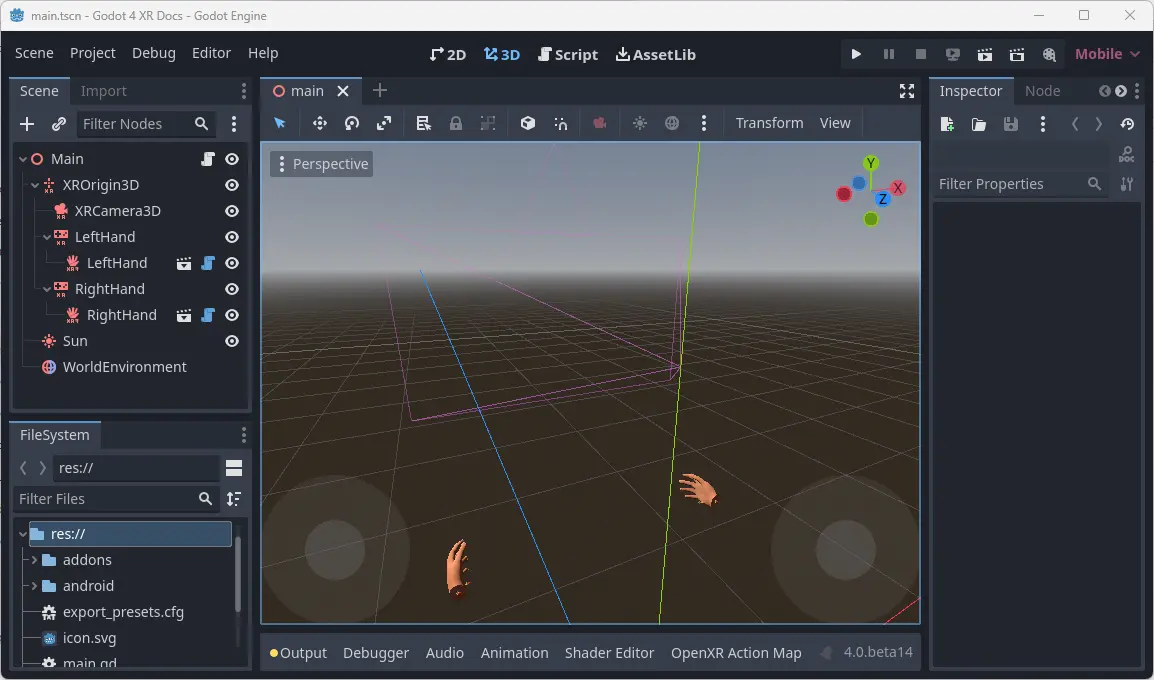
Nell'albero di scene, seleziona il nodo XRController3D della mano sinistra. Ora clicca sul pulsante Istanzia scena figlia per aggiungere una scena figlia. Clicca sull'interruttore Componenti aggiuntivi così da poter cercare nella cartella addon. Poi cerca left_hand_low.tscn e selezionalo.
As you can see from the path of this scene, low poly models are in the lowpoly subfolder while high poly models are in the highpoly subfolder.
You will want to use the low poly versions if you plan to release your game on mobile devices.
La mano predefinita che abbiamo scelto è solo una mano. Le altre opzioni sono:
tac_glove - la mano sta indossando un guanto con le dita scoperte
full_glove - la mano sta indossando un guanto che copre l'intera mano
Infine, ogni mano è disponibile in una versione physics. Questa versione mostra tutte le ossa. Vedremo come utilizzarla in un altro tutorial.
Ripetiamo lo stesso per la mano destra.
Maggiori informazioni
Nelle prossime pagine continueremo ad aggiungere funzionalità al nostro progetto tutorial utilizzando gli strumenti di Godot XR. Ulteriori informazioni dettagliate sul toolkit sono disponibili nelle pagine di aiuto del toolkit.