Attention: Here be dragons
This is the latest
(unstable) version of this documentation, which may document features
not available in or compatible with released stable versions of Godot.
Checking the stable version of the documentation...
2D Системы частиц
Введение
Системы частиц используются для имитации сложных физических эффектов, таких как искры, огонь, волшебные частицы, дым, туман и т. Д.
Идея состоит в том, что «частица» испускается через фиксированный интервал и с фиксированным временем жизни. В течение своей жизни у каждой частицы будет одно базовое поведение. Что отличает каждую частицу от остальных и обеспечивает более натуральный вид, так это «случайность», связанная с каждым параметром. По сути, создание системы частиц означает установку основных физических параметров, а затем добавление к ним случайности.
Узлы частиц
Годо предоставляет два разных узла для 2D частиц GPUParticles2D и CPUParticles2D. GPUParticles2D является более продвинутым и использует графический процессор для обработки эффектов частиц. CPUParticles2D-это вариант, управляемый процессорами, с приличной паритетом с GPUParticles2D, но более низкая производительность при использовании большого количества частиц. С другой стороны, CPUParticles2D может работать лучше в низкокачественных системах или в ситуациях с графическим процессором.
В то время как GPUParticles2D настраивается через ParticleProcessMaterial (и, при необходимости, с помощью пользовательского шейдера), соответствующие параметры предоставляются через свойства узла в CPUParticles2D (за исключением настроек следа).
В дальнейшем мы не планируем добавлять новые функции в CPUParticles2D, хотя запросы на добавление функций, уже имеющихся в GPUParticles2D, будут приниматься. Поэтому мы рекомендуем использовать GPUParticles2D, если у вас нет веских причин не использовать его.
Вы можете преобразовать узел CPUParticles2D в узел GPUParticles2D, нажав на узел в дереве сцены, выбрав 2D workspace и выбрав CPUParticles2D > Convert to GPUParticles2D на панели инструментов.
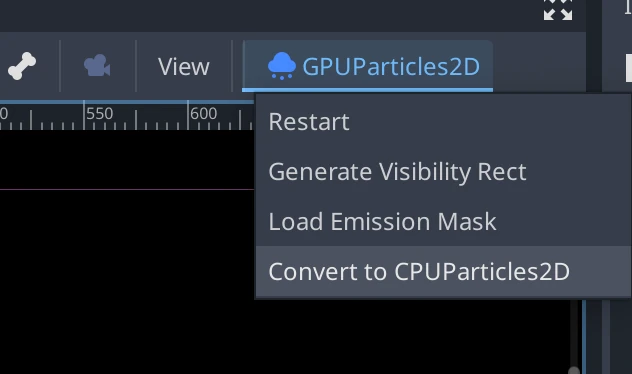
Также возможно преобразовать узел GPUParticles2D в узел CPUParticles2D, однако могут возникнуть проблемы, если вы используете функции, доступные только на GPU.
Остальная часть этого урока будет использовать узел GPUParticles2D. Во первых, добавьте в свою сцену узел GPUParticles2D. После создания этого узла вы заметите, что рядом с вашим узлом GPUParticles2D была создана только белая точка, и что рядом с вашим узлом GPUParticles2D есть значок предупреждения. Это связано с тем, что узел нуждается в функционировании ParticleProcessMaterial.
ParticleProcessMaterial (Материал процесса частиц)
Чтобы добавить материал процесса в узел частиц, перейдите в Process Material на панели инспектора. Нажмите на поле рядом с Material и в раскрывающемся меню, выберите New ParticleProcessMaterial.

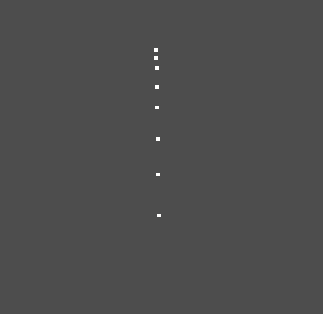
Ваш узел GPUParticles2D теперь должен излучать белые точки вниз.
Текстура
Система частиц может использовать одну текстуру или анимацию flipbook. Flipbook — это текстура, которая содержит несколько кадров анимации, которые могут быть воспроизведены или выбраны случайным образом во время эмиссии. Это эквивалентно spritesheet для частиц.
Текстура задается с помощью свойства Texture:

Использование анимационного Flipbook
Частицы флипбуков (flipbooks) подходят для воспроизведения сложных эффектов, таких как дым, огонь, взрывы. Их также можно использовать для введения случайных вариаций текстур, заставляя каждую частицу использовать другую текстуру. Вы можете найти существующие изображения частиц флипбуков в Интернете или предварительно отрендерить их с помощью внешних инструментов, таких как Blender или EmberGen.
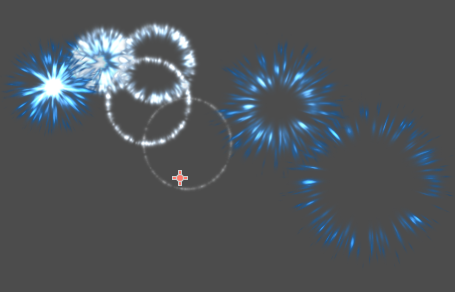
Пример системы частиц, использующей текстуру флипбука (flipbook)
Использование анимированного флипбука (flipbook) требует дополнительной настройки по сравнению с одиночной текстурой. Для демонстрационных целей мы будем использовать эту текстуру с 5 столбцами и 7 строками (щелкните правой кнопкой мыши и выберите Сохранить как…):
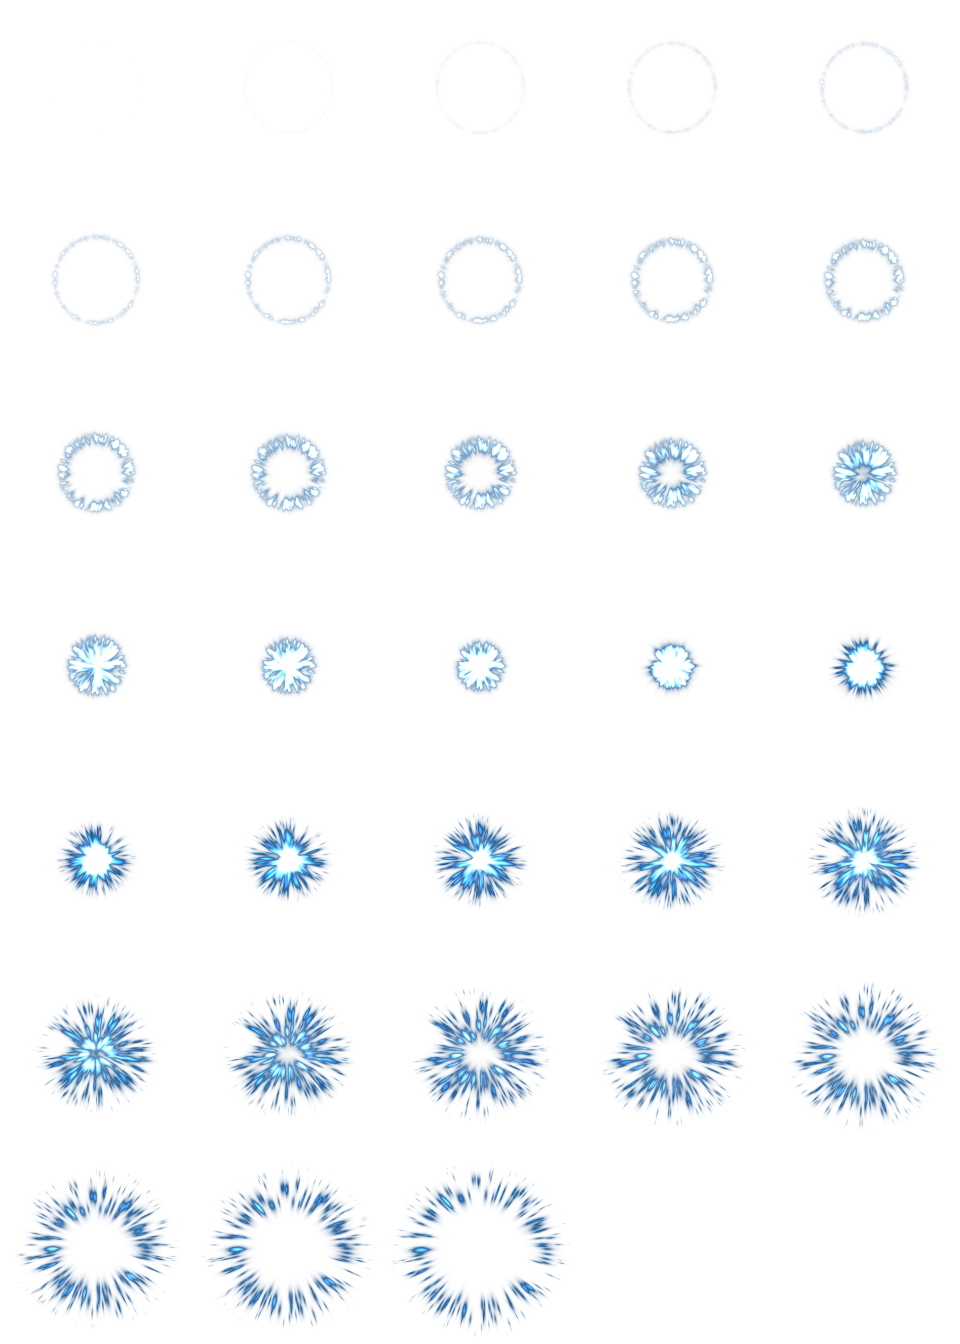
Кредит: JoesAlotofthings (CC BY 4.0)
Чтобы использовать анимационный флипбук (flipbook), необходимо создать новый CanvasItemMaterial в разделе Material узла GPUParticles2D (или CPUParticles2D):
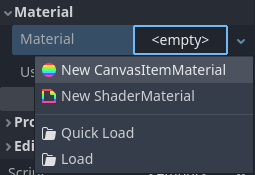
Создание CanvasItemMaterial в нижней части инспектора узлов частиц
В этом CanvasItemMaterial включите Particle Animation и задайте H Frames и V Frames равными количеству столбцов и строк, присутствующих в текстуре вашего флипбука:
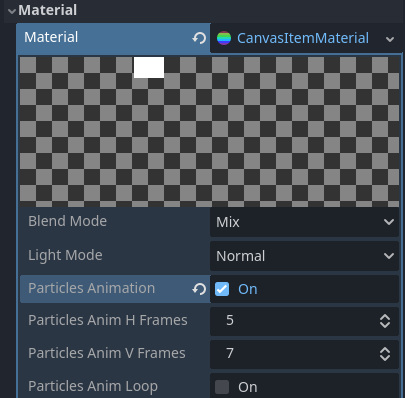
Настройка CanvasItemMaterial для примера текстуры flipbook
После этого раздел Animation в ParticleProcessMaterial (для GPUParticles2D) или в инспекторе CPUParticles2D вступит в силу.
Совет
Если у вашей текстуры flipbook черный фон вместо прозрачного, вам также нужно будет установить режим смешивания на Add вместо Mix для правильного отображения. В качестве альтернативы вы можете изменить текстуру, чтобы фон был прозрачным в редакторе изображений. В GIMP это можно сделать с помощью меню Color > Color to Alpha.
Параметры времени
Время жизни
Время в секундах, в течение которого каждая частица останется в живых. Когда время жизни заканчивается, вместо нее создается новая частица.
Продолжительность жизни: 0,5
Продолжительность жизни: 4,0
Одноразовый
При включении узел GPUParticles2D излучит все свои частицы один раз, а затем никогда больше.
Предобработка
Системы частиц начинаются с нулевого испускания частиц, а затем начинают испускаться. Это может быть неудобно при загрузке сцены и таких систем, как факел, туман и т.д., которые начинают излучаться сразу после входа. Предварительная обработка используется, чтобы позволить системе обработать заданное количество секунд до того, как она будет фактически отрисована в первый раз.
Масштаб скорости
Шкала скорости имеет значение по умолчанию 1 и используется для регулировки скорости системы частиц. Понижение значения сделает частицы медленнее, в то время как увеличение значения сделает частицы намного быстрее.
Взрывоопасность
Если продолжительность жизни равна 1 и имеется 10 частиц, это означает, что частица будет испускаться каждую 0,1 секунды. Параметр "explosiveness" меняет это и заставляет частицы испускаться все вместе. Диапазоны:
0: Испускать частицы через равные промежутки времени (значение по умолчанию).
1: Испускать все частицы одновременно.
Допускаются также значения в середине. Эта функция полезна для создания взрывов или внезапных выбросов частиц:
Случайность
Все физические параметры могут быть рандомизированы. Диапазон случайных значений от 0 до 1. Формула рандомизации параметра:
initial_value = param_value + param_value * randomness
Фиксированный FPS
Этот параметр можно использовать для установки системы частиц для рендеринга с фиксированным FPS. Например, изменение значения на 2 приведет к рендерингу частиц со скоростью 2 кадра в секунду. Обратите внимание, что это не замедляет саму систему частиц.
Примечание
Godot 4.3 в настоящее время не поддерживает интерполяцию физики для 2D-частиц. В качестве обходного пути отключите интерполяцию физики для узла частиц, установив Node > Physics Interpolation > Mode в нижней части инспектора.
Fract Delta
Установка Fract Delta в true приводит к дробному расчету дельты, что дает более плавный эффект отображения частиц. Эта повышенная гладкость обусловлена более высокой точностью. Разница более заметна в системах с высокой случайностью или быстро движущимися частицами. Это помогает поддерживать визуальную согласованность системы частиц, гарантируя, что движение каждой частицы соответствует ее фактическому сроку службы. Без этого частицы могут казаться прыгающими или движущимися больше, чем должны, в одном кадре, если они испускаются в точке внутри кадра. Более высокая точность имеет компромисс производительности, особенно в системах с большим количеством частиц.
Параметры отрисовки
Видимый прямоугольник
Прямоугольник видимости контролирует видимость частиц на экране. Если этот прямоугольник находится за пределами области просмотра, движок не будет отображать частицы на экране.
Свойства прямоугольника W и H соответственно управляют его шириной и высотой. Свойства X и Y управляют положением верхнего левого угла прямоугольника относительно излучателя частиц.
Вы можете настроить Godot для автоматического создания прямоугольника видимости с помощью панели инструментов над 2-мерным видом. Для этого выберите узел Particles2D и нажмите Particles > Generate Visibility Rect. Godot будет имитировать узел Particles2D, излучающий частицы в течение нескольких секунд, и установит прямоугольник в соответствии с поверхностью, которую принимают частицы.
Вы можете контролировать длительность излучения с помощью опции Generation Time (sec). Максимальное значение - 25 секунд. Если вам нужно больше времени для перемещения частиц, вы можете временно изменить длительность preprocess на узле Particles2D.
Локальные координаты
By default, this option is off. It means that the space that particles are emitted to is global, and not relative to the node. If the node is moved, existing particles are not moved with it:
If enabled, particles will emit to local space, meaning that if the node is moved, already emitted particles are also affected:
Порядок рисования
Это контролирует порядок, в котором отрисовываются отдельные частицы. Index означает, что частицы отрисовываются в соответствии с порядком их выброса (по умолчанию). Lifetime означает, что они нарисованы в порядке оставшегося времени жизни.
Настройки Материала Процесса Частиц
Информацию о настройках в ParticleProcessMaterial см. this page.