Attention: Here be dragons
This is the latest
(unstable) version of this documentation, which may document features
not available in or compatible with released stable versions of Godot.
Checking the stable version of the documentation...
Использование ParticleProcessMaterial 2D
Свойства материала процесса
Минимальные, максимальные и кривые свойства
Свойства этого материала управляют поведением частиц и их изменением в течение их жизни. Многие из них имеют значения Min, Max и Curve, которые позволяют вам точно настраивать их поведение. Связь между этими значениями следующая: когда создается частица, свойству присваивается случайное значение между Min и Max. Если Min и Max одинаковы, значение всегда будет одинаковым для каждой частицы. Если также задано Curve, значение свойства будет умножено на значение кривой в текущей точке времени жизни частицы. Используйте кривую, чтобы изменить свойство в течение времени жизни частицы. Таким образом можно выразить очень сложное поведение.
Примечание
На этой странице описывается, как использовать ParticleProcessMaterial специально для 2D-сцен. Для получения информации о том, как использовать его в 3D-сцене, см. Свойства материала процесса.
Рандомизация Lifetime
Свойство Lifetime Randomness контролирует, сколько случайности следует применять к жизни каждой частицы. Значение 0 означает, что случайности нет вообще, и все частицы живут одинаковое количество времени, установленное свойством Lifetime. Значение 1 означает, что время жизни частицы полностью случайно в диапазоне [0.0, Lifetime].
Флаги Частицы
Спаун
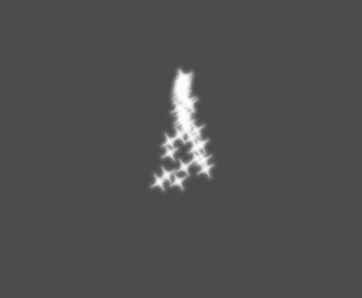
Угол
Определяет начальный угол частицы (в градусах). Этот параметр в основном полезен в случайном порядке.
Скорость
Направление
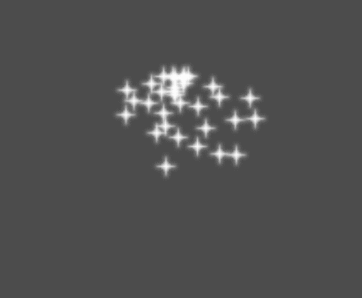
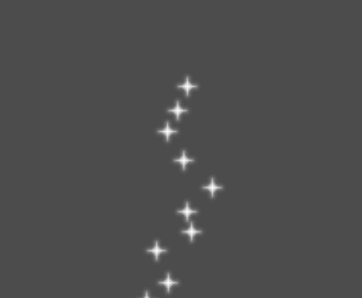
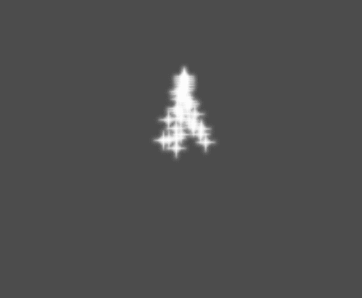
Это основное направление, в котором испускаются частицы. По умолчанию это Vector3 (1, 0, 0), что заставляет частицы излучаться вправо. Однако с настройками силы тяжести по умолчанию частицы будут идти прямо вниз.
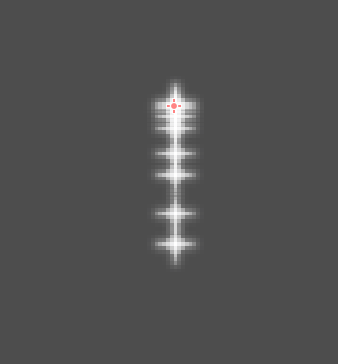
Чтобы это свойство было заметным, вам нужна начальная скорость больше 0. Здесь мы установили начальную скорость равной 40. Вы заметите, что частицы испускаются вправо, а затем падают вниз из-за силы тяжести.
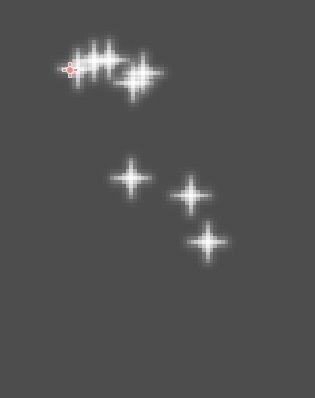
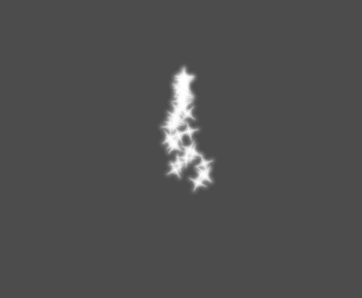
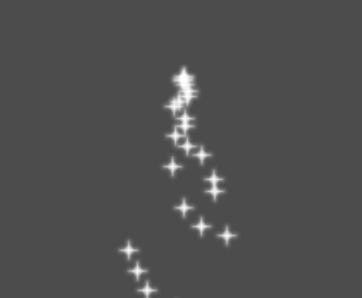
Разброс
Этот параметр - угол в градусах, который будет случайным образом добавлен к основному направлению Direction. Разброс 180 приведет к излучению во всех направлениях (+/- 180). Для того, чтобы активировался разброс частиц, параметр Initial Velocity должен быть больше 0.
Плоскостность
Это свойство полезно только для 3D-частиц.
Начальная скорость
Начальная скорость - это скорость, с которой будут испускаться частицы (в пикселях/сек). Позднее скорость может быть изменена под действием силы тяжести или других ускорений (как описано ниже).
Скорость анимации
Угловая скорость
Угловая скорость - это скорость, с которой частицы вращаются вокруг их центра (в градусах/с).
Орбитальная скорость
Orbit Velocity используется для вращения частиц вокруг своего центра.
Акселерация (ускорение)
Гравитация
Гравитация применяется к каждой частице.
Линейное Ускорение
Линейное ускорение применяется к каждой частице.
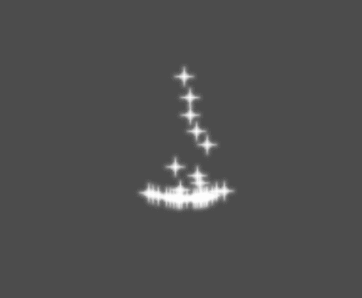
Радиальное (Нормальное) Ускорение
Если это ускорение положительное, частицы ускоряются от центра. Если отрицательное, они поглощаются им.
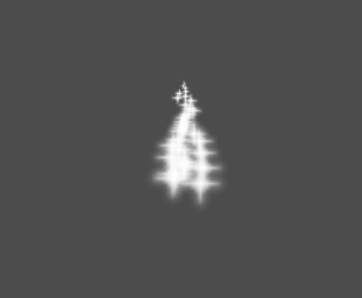
Касательное Ускорение
Это ускорение будет использовать касательный вектор к центру. Комбинация с радиальным ускорением может дать хорошие эффекты.

Амортизация
Демпфирование приводит к трению частиц, заставляя их останавливаться. Это особенно полезно для искр или взрывов, которые обычно начинаются с высокой линейной скорости и затем прекращаются по мере исчезновения.
Отображать
Масштаб
Определяет начальный размер частиц.
Цветные Кривые
Цвет
Используется для изменения цвета испускаемых частиц.
Оттенок Вариации
Значение Variation устанавливает начальное изменение оттенка, применяемое к каждой частице. Значение Variation Random контролирует коэффициент случайности изменения оттенка.
Анимация
Примечание
Анимация перелистывания частиц эффективна только в том случае, если CanvasItemMaterial, используемый в узле GPUParticles2D или CPUParticles2D, был настроен соответствующим образом.
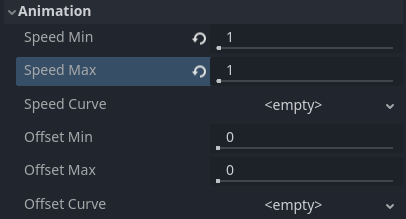
Чтобы настроить flipbook частиц для линейного воспроизведения, установите значения Speed Min и Speed Max на 1:
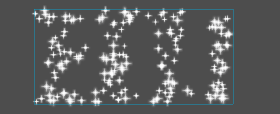
Настройка анимации частиц для воспроизведения в течение жизни частицы
По умолчанию цикл отключен. Если частица завершит воспроизведение до окончания своего жизненного цикла, частица продолжит использовать последний кадр flipbook (который может быть полностью прозрачным в зависимости от того, как разработана текстура flipbook). Если цикл включен, анимация вернется к первому кадру и возобновит воспроизведение.
В зависимости от того, сколько изображений содержит ваш спрайт-лист и как долго ваша частица жива, анимация может выглядеть не гладкой. Связь между временем жизни частицы, скоростью анимации и количеством изображений в спрайт-листе следующая:
Примечание
При скорости анимации 1.0 анимация достигнет последнего изображения в последовательности как раз в тот момент, когда закончится время жизни частицы.
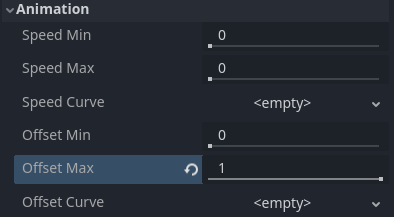
Если вы хотите, чтобы книга частиц использовалась в качестве источника случайных текстур частиц для каждой частицы, оставьте значения скорости на 0 и вместо этого установите Offset Max на 1:
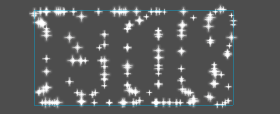
Настройка анимации частиц для случайного смещения при излучении
Обратите внимание, что Fixed FPS узла GPUParticles2D также влияет на воспроизведение анимации. Для плавного воспроизведения анимации рекомендуется установить его на 0, чтобы частица имитировалась на каждом отрисованном кадре. Если это не вариант для вашего варианта использования, установите Fixed FPS равным эффективной частоте кадров, используемой анимацией флипбука (см. формулу выше).
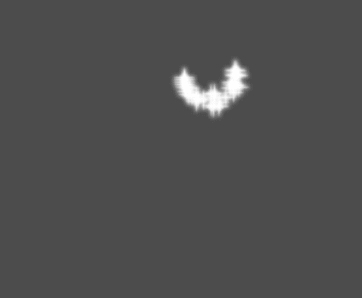
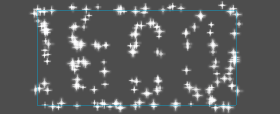
Формы излучения
ParticleProcessMaterials позволяет вам установить Emission Mask, которая диктует область и направление, в которых испускаются частицы. Они могут быть получены из текстур в вашем проекте.
Убедитесь, что установлен ParticleProcessMaterial, и выбран узел GPUParticles2D. Меню "Particles" должно появиться на Toolbar (панели инструментов):

Откройте его и выберите "Загрузить маску излучения":

Затем выберите, какую текстуру вы хотите использовать в качестве маски:

Появится диалоговое окно с несколькими настройками.
Маска излучения
Из текстуры могут быть сгенерированы три типа масок излучения:
Залитые пиксели: Частицы будут появляться из любой области текстуры, за исключением прозрачных областей.
Граничные пиксели: Частицы будут появляться на внешних краях текстуры.
Направленные пограничные пиксели: похожи на пограничные пиксели, но добавляют дополнительную информацию к маске, чтобы дать частицам возможность испускаться вдали от границ. Обратите внимание, что для того, чтобы использовать это, необходимо установить
Initial Velocity.
Цвета излучения
Из пикселя заставит частицы унаследовать цвет маски в своих точках появления.
Как только вы нажмете "OK", маска будет сгенерирована и установлена на ParticleProcessMaterial, под Spawn, а затем Position

Все значения в этом разделе были автоматически сгенерированы меню «Загрузить маску излучения», поэтому их, как правило, следует оставить в покое.
Примечание
Изображение не следует добавлять напрямую в Point Texture или Color Texture. Вместо этого всегда следует использовать меню «Загрузить маску излучения».
Customizing the process material
Если вам нужно изменить или реализовать новое поведение в коде шейдера, вы можете сделать это, преобразовав текущий ParticleProcessMaterial в ShaderMaterial. Существующие свойства сохраняются в процессе преобразования. Функции, которые включены, также повлияют на то, что будет присутствовать в преобразованном коде шейдера.
To do so, right-click on the material in the FileSystem dock and choose Convert to ShaderMaterial. You can also do so by right-clicking on any property holding a reference to the material in the inspector.